Mastering Headers and Footers in Microsoft Word: A Comprehensive Guide
Introduction: Headers and footers are essential elements in Microsoft Word documents that allow you to add consistent and professional-looking information to every page. Whether you’re creating a report, a thesis, or a business document, mastering the art of headers and footers can enhance the readability, organization, and overall presentation of your document. In this comprehensive guide, we’ll explore the techniques, tips, and tricks for adding headers and footers in Microsoft Word like a pro. From basic customization options to advanced features, this guide will equip you with the knowledge and skills to create polished and well-formatted documents that make a lasting impression.
Understanding Headers and Footers: Before we delve into the application process, let’s understand what headers and footers are and how they can benefit your documents:
- What are Headers and Footers?
- Headers: Headers are sections of a document that appear at the top of each page. They typically contain information such as document titles, chapter names, section headings, or page numbers.
- Footers: Footers are sections of a document that appear at the bottom of each page. They often contain information such as page numbers, document revision dates, copyright notices, or contact information.
- Benefits of Using Headers and Footers:
- Consistency: Headers and footers help maintain consistency throughout your document by displaying the same information on every page.
- Organization: Headers and footers can provide important contextual information, such as document titles or page numbers, which help readers navigate the document more easily.
- Professionalism: Well-designed headers and footers add a professional touch to your documents, enhancing their readability and visual appeal.
Now that you understand the importance of headers and footers, let’s explore how to add and customize them in Microsoft Word.
Step-by-Step Guide to Adding Headers and Footers: Follow these steps to add headers and footers to your Microsoft Word document:
- Open your Document:
- Launch Microsoft Word and open the document to which you want to add headers and footers.
- Access the Header and Footer Toolbar:
- Click on the “Insert” tab in the top menu bar to access the header and footer options.
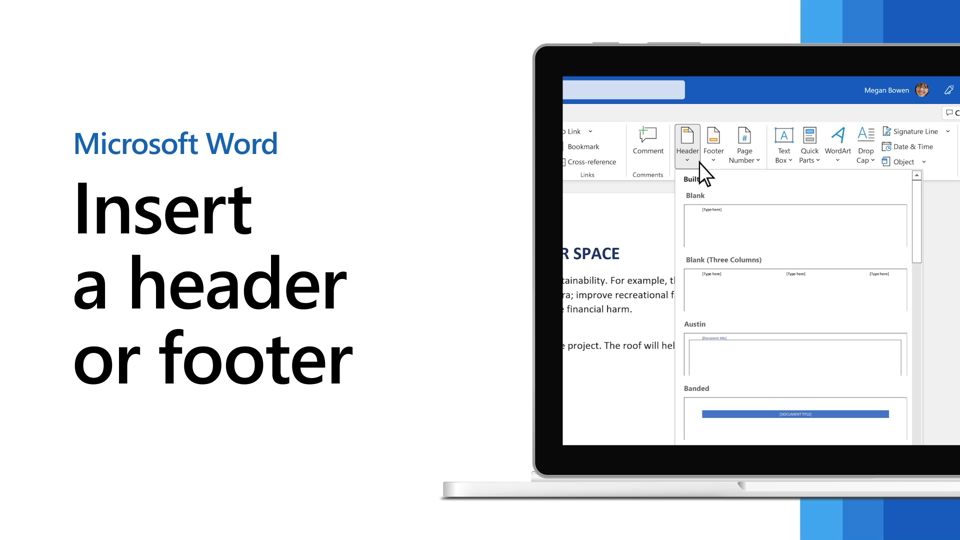
- In the “Header & Footer” group, you’ll find buttons for “Header” and “Footer.” Click on the appropriate button to open the header or footer section of your document.
- Choose a Header or Footer Template:
- Microsoft Word offers a variety of built-in header and footer templates that you can choose from. These templates include pre-designed layouts with placeholders for text, images, and page numbers.
- Click on the desired template to insert it into your document. You can then customize the text and formatting as needed.
- Customize the Header or Footer:
- Once the header or footer template is inserted, you can customize it to suit your document’s needs.
- Double-click inside the header or footer section to activate it for editing. You’ll notice that the rest of the document becomes grayed out, indicating that you are now working in the header or footer area.
- Add text, images, or other elements to the header or footer using the tools available in the “Header & Footer Tools” tab that appears when you’re editing the header or footer.
- Format the text and adjust the alignment, font size, font style, and color using the formatting options in the toolbar.
- Add Page Numbers:
- Page numbers are a common element to include in headers or footers. To add page numbers, click on the “Page Number” button in the “Header & Footer” group on the “Insert” tab.
- Choose the desired location for the page numbers, such as at the top or bottom of the page, or in the left or right margin.
- Select a page number format from the dropdown menu, such as Arabic numerals (1, 2, 3) or Roman numerals (I, II, III), and Word will automatically insert the page numbers into the header or footer.
- Insert Date and Time:
- To insert the current date or time into the header or footer, click on the “Date & Time” button in the “Header & Footer” group on the “Insert” tab.
- Choose the desired date or time format from the dropdown menu, such as “Full Date” or “Short Date,” and Word will insert the current date or time into the header or footer.
- Apply to Entire Document:
- By default, headers and footers are applied to every page in your document. However, if you want to apply different headers or footers to specific sections of your document, you can do so by using section breaks.
- Insert a section break before the section where you want to change the header or footer. Then, repeat steps 2-6 to customize the header or footer for that section.
- Preview and Print:
- Once you’ve added and customized your headers and footers, it’s a good idea to preview your document to ensure everything looks as intended.
- Click on the “File” tab in the top menu bar, select “Print Preview” from the dropdown menu, and review how the headers and footers appear on each page.
- If everything looks good, you can proceed to print your document by clicking on the “Print” button.
Tips for Customizing Headers and Footers: Here are some additional tips for customizing headers and footers in Microsoft Word:
- Use Design Elements:
- Incorporate design elements such as borders, lines, or shapes to enhance the visual appeal of your headers and footers.
- Experiment with different colors, patterns, and styles to create a cohesive and professional-looking design.
- Add Logos or Branding:
- Include your company logo, brand colors, or other branding elements in the header or footer to reinforce your brand identity.
- Resize and position the logo or branding elements as needed to ensure they fit seamlessly within the header or footer.
- Align Elements Consistently:
- Maintain consistent alignment and spacing throughout your headers and footers to create a polished and cohesive look.
- Use the alignment guides and rulers in Microsoft Word to ensure that elements are aligned correctly and evenly spaced.
- Customize for Different Sections:
- Tailor the headers and footers to suit the content of each section of your document.
- For example, you may want to include chapter titles or section headings in the headers for longer documents to help readers navigate the content more easily.
- Experiment with Font Styles:
- Play around with different font styles, sizes, and weights to find the perfect combination for your headers and footers.
- Consider using bold or italicized text for emphasis, or experiment with decorative fonts for a unique and eye-catching look.
Conclusion: Adding headers and footers in Microsoft Word is a simple yet powerful way to enhance the organization, readability, and professionalism of your documents. By following the step-by-step guide and implementing the tips and tricks provided in this comprehensive guide, you can create headers and footers that effectively convey important information, such as document titles, page numbers, or branding elements. Whether you’re creating reports, presentations, or other types of documents, mastering the art of headers and footers will elevate the quality and presentation of your work, making it more engaging and impactful for your audience. So, take advantage of the tools and features available in Microsoft Word, unleash your creativity, and create stunning headers and footers that leave a lasting impression.