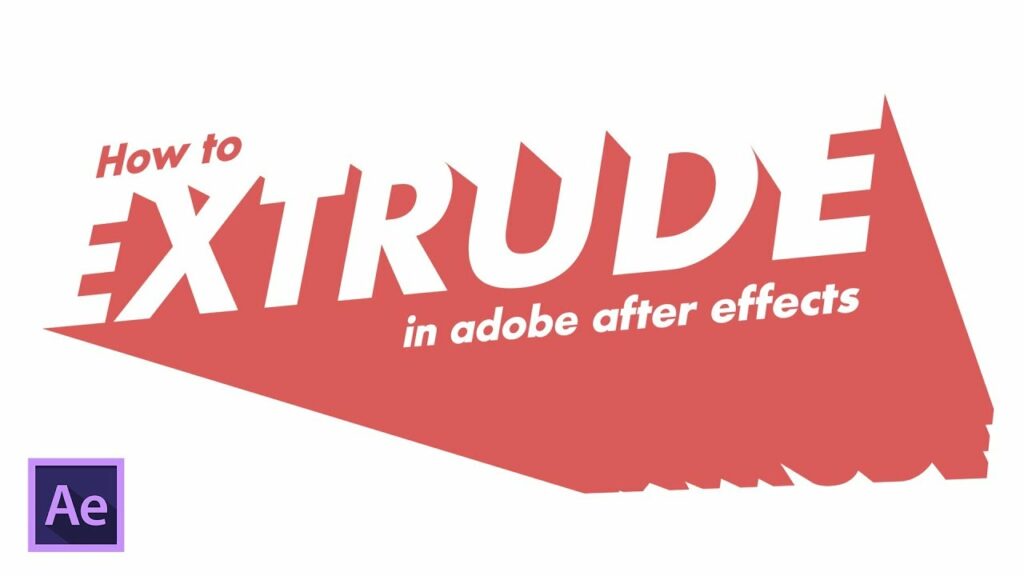
Mastering Visual Effects: A Comprehensive Guide to Creating 3D Text Extrusion in Adobe After Effects
Adam.Smith April 24, 2024 0
Introduction: Adding three-dimensional (3D) text extrusion to your videos can elevate their visual appeal and create a sense of depth and realism. Adobe After Effects offers powerful tools for creating 3D text extrusions, allowing you to turn flat text layers into dynamic and immersive elements that enhance your motion graphics, title sequences, and visual effects. In this comprehensive guide, we will explore the step-by-step process of creating 3D text extrusion in Adobe After Effects, from creating text layers to applying extrusion effects and adding depth and realism to your compositions.
Understanding 3D Text Extrusion: 3D text extrusion in After Effects involves the conversion of two-dimensional (2D) text layers into three-dimensional (3D) objects with depth and volume. By extruding text along a path or shape, designers and animators can create dynamic and realistic text effects that add visual interest and depth to their projects. After Effects offers various tools and techniques for creating 3D text extrusions, including the Extrude and Bevel effect, the Ray-traced 3D renderer, and third-party plugins.
Step 1: Creating Text Layers To create 3D text extrusion in After Effects, start by creating a new composition or opening an existing one. Then, create a new text layer by selecting the Text tool from the toolbar and clicking on the composition. Enter the desired text in the text layer and customize its font, size, color, and alignment using the Character panel. You can also import text from external sources such as Adobe Illustrator or Photoshop.
Step 2: Enabling 3D Layer Properties After creating the text layer, enable 3D layer properties to allow for 3D manipulation and extrusion. Select the text layer in the timeline, then toggle the 3D Layer switch located next to the layer name. This action converts the text layer into a 3D layer, allowing you to manipulate its position, rotation, and scale in 3D space. You can also adjust the orientation and perspective of the text using the Transform properties in the timeline.
Step 3: Applying Extrusion Effects Once the text layer is set to 3D, apply extrusion effects to add depth and volume to the text. After Effects offers several methods for creating 3D text extrusions, including the Extrude and Bevel effect, the Ray-traced 3D renderer, and third-party plugins such as Element 3D. Experiment with different extrusion techniques to achieve the desired depth and appearance for your text.
Step 4: Adjusting Extrusion Settings After applying the extrusion effect, customize its settings to control the depth, bevel, and appearance of the extruded text. In the Effects Controls panel, you will find parameters such as Extrusion Depth, Bevel Size, Bevel Depth, and Bevel Style. Adjust these settings to create smooth or angular extrusions, sharp or rounded bevels, and other visual effects that suit your design aesthetic.
Step 5: Adding Materials and Textures To enhance the realism of the 3D text extrusion, apply materials and textures to the text layers. After Effects offers built-in material options such as Diffuse, Specular, and Ambient Occlusion, which allow you to simulate surface properties such as color, reflectivity, and shadowing. You can also import custom textures or create your own using Adobe Photoshop or Illustrator. Apply materials and textures to the text layers using the Material Options in the Effects Controls panel.
Step 6: Adding Lights and Shadows To further enhance the realism of the 3D text extrusion, add lights and shadows to the composition. After Effects offers various types of lights, including Point Lights, Spotlights, and Ambient Lights, which allow you to simulate different lighting scenarios and create dynamic shadows and highlights. Position lights around the text layers to control the direction, intensity, and color of the lighting. Experiment with shadow settings to create realistic shadowing effects that enhance the depth and dimension of the extruded text.
Step 7: Adjusting Camera Settings
To fully immerse the viewer in the 3D environment, adjust the camera settings to control the perspective and viewpoint of the composition. In After Effects, create a new camera layer by selecting Layer > New > Camera. Choose the desired camera type (e.g., One-Node or Two-Node) and adjust the camera’s position, rotation, and focal length to frame the 3D text extrusion effectively. Experiment with camera angles and movements to create dynamic shots that highlight the depth and dimension of the extruded text.
Step 8: Animating Text and Camera To bring your 3D text extrusion to life, animate the text layers and camera movements over time. In the timeline, set keyframes for text properties such as position, rotation, and scale to create dynamic text animations. Experiment with animation techniques such as fades, wipes, and reveals to add visual interest and impact to the text extrusion. Additionally, animate the camera movements to create smooth transitions and dynamic camera shots that showcase the 3D environment from different perspectives.
Step 9: Adding Additional Effects To further enhance the visual impact of the 3D text extrusion, consider adding additional effects and elements to the composition. Experiment with effects such as Glow, Blur, Depth of Field, and Color Correction to add depth, atmosphere, and visual interest to the scene. Use blending modes, masks, and layer styles to integrate the text extrusion seamlessly with other elements in the composition. Combine 3D text extrusion with motion graphics, visual effects, and compositing techniques to create complex and immersive visuals that captivate and engage viewers.
Step 10: Fine-Tuning and Previewing As you work on your 3D text extrusion, preview it regularly to assess its visual impact and quality. Play through the animation in real-time, making note of any areas that may need further refinement or adjustment. Pay attention to details such as text readability, extrusion depth, lighting consistency, and animation timing to ensure a compelling and immersive 3D text extrusion. Make adjustments as needed to achieve the desired look and feel for your project.
Step 11: Rendering and Exporting Once you’re satisfied with your 3D text extrusion composition, it’s time to render and export the final video for use in your projects. In After Effects, select “Composition” > “Add to Render Queue” to add the composition to the render queue. Configure the render settings, such as output format, resolution, and codec options, and click “Render” to export the final video with the 3D text extrusion effect applied.
Conclusion: Creating 3D text extrusion in Adobe After Effects offers a versatile and powerful tool for adding depth, dimension, and visual impact to your video projects. By mastering the fundamentals of text creation, extrusion effects, lighting, animation, and compositing, you can unleash your creativity and bring your 3D text extrusions to life with stunning and immersive visuals. Whether used for title sequences, motion graphics, visual effects, or compositing, 3D text extrusion offers endless possibilities for visual storytelling and creative expression. Experiment with different settings, techniques, and styles to create 3D text extrusions that captivate and engage viewers, bringing depth, dimension, and dynamic motion to your video projects.


