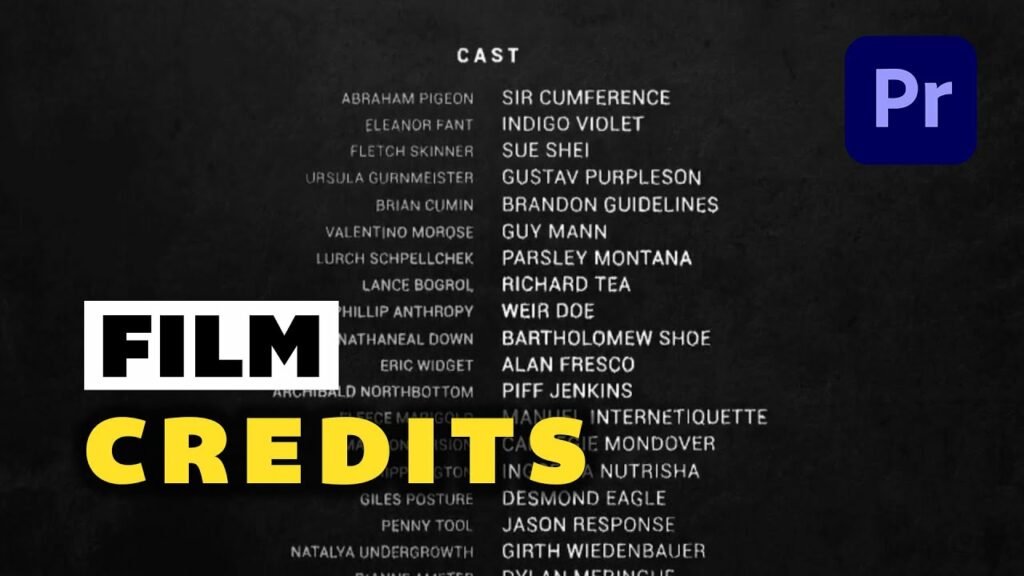
How to create a rolling credits effect in Premiere Pro

Creating a rolling credits effect in Adobe Premiere Pro can add a professional touch to your videos, whether you’re producing a short film, documentary, or even a YouTube video. With its powerful tools and intuitive interface, Premiere Pro offers several methods for creating rolling credits that will enhance the visual appeal of your project. In this comprehensive guide, we’ll walk you through the step-by-step process of creating a rolling credits effect in Premiere Pro, covering everything from setting up your project to customizing the appearance of your credits.
Step 1: Set Up Your Project
Before you begin creating your rolling credits, it’s essential to set up your Premiere Pro project with the correct settings. Open Premiere Pro and create a new project, then set the desired frame rate, resolution, and aspect ratio for your video. Import the footage or images you’ll be using for your credits, as well as any audio tracks you want to include.
Step 2: Create a New Title
To create your rolling credits, you’ll need to create a new title in Premiere Pro. Go to the “Graphics” workspace by selecting it from the dropdown menu at the top of the screen. Then, click on the “New Item” button in the Project panel and choose “Title” from the dropdown menu.
Step 3: Design Your Credits
Once you’ve created a new title, you’ll be taken to the Title Designer window, where you can design your credits. Use the text tools to add the names of the people or organizations you want to credit, as well as any other information you want to include, such as titles or roles.
You can customize the appearance of your text by changing the font, size, color, and alignment using the options in the Title Designer window. You can also add effects like shadows or outlines to make your credits stand out.
Step 4: Add Animation
To create the rolling credits effect, you’ll need to animate your text so that it scrolls up the screen. Start by positioning your text at the bottom of the screen, where you want the credits to start. Then, click on the “Effects Controls” tab to reveal the Motion properties for your text layer.
Click on the stopwatch icon next to the “Position” property to create a keyframe, then move the playhead to the end of your timeline and adjust the Y position of your text so that it is off-screen at the top. Premiere Pro will automatically create a second keyframe, creating the animation effect.
Step 5: Adjust Timing and Speed
Once you’ve animated your text, you can adjust the timing and speed of the rolling credits effect to suit your preferences. You can do this by dragging the keyframes in the timeline to change the duration of the animation or by adjusting the speed curve using the Graph Editor.
You can also add easing to your keyframes to create a more natural and smooth movement. Right-click on a keyframe and select “Temporal Interpolation” > “Ease Out” to add easing to the end of your animation, and “Ease In” to add easing to the beginning.
Step 6: Preview and Fine-Tune
After you’ve created your rolling credits effect, preview your project to see how it looks. You may need to make adjustments to the timing, speed, or appearance of your credits to achieve the desired effect. Experiment with different settings and techniques until you’re satisfied with the result.
Step 7: Export Your Video
Once you’re happy with your rolling credits effect, it’s time to export your video. Go to the “File” menu and select “Export” > “Media” to open the Export Settings window. Choose the desired format, codec, and settings for your video, then click “Export” to save your project.
By following these steps, you can create a professional-looking rolling credits effect in Adobe Premiere Pro that will add the perfect finishing touch to your videos. With its powerful tools and intuitive interface, Premiere Pro makes it easy to create stunning visual effects that will captivate your audience and elevate your projects to the next level.


