Mastering Motion: A Comprehensive Guide to Using the Pen Tool for Animation in After Effects
Introduction: In the realm of motion graphics and visual effects, Adobe After Effects stands as a powerhouse software, offering a multitude of tools and features for crafting captivating animations and dynamic compositions. Among these tools, the Pen tool holds a special place, serving as a versatile instrument for creating precise shapes, paths, and animations with precision and control. Whether you’re tracing complex outlines, animating custom motion paths, or crafting intricate mask animations, mastering the Pen tool in After Effects is essential for achieving professional-quality results. In this comprehensive guide, we’ll delve into the intricacies of using the Pen tool for animation in After Effects, unraveling techniques, workflows, and expert insights to help you unlock its full potential.
Understanding the Pen Tool in After Effects: The Pen tool in After Effects is a fundamental feature that allows users to create and manipulate vector shapes and paths with precision and accuracy. With its intuitive interface and versatile functionality, the Pen tool enables animators and designers to craft custom shapes, masks, and motion paths, providing endless creative possibilities for animation and visual effects. Whether you’re creating animated typography, character animations, or complex motion graphics, mastering the Pen tool is essential for achieving smooth, fluid, and visually appealing animations in After Effects.
Step-by-Step Guide to Using the Pen Tool for Animation in After Effects:
- Access the Pen Tool: Launch After Effects and create a new composition. Select the Pen tool from the toolbar or press the G key to activate it.
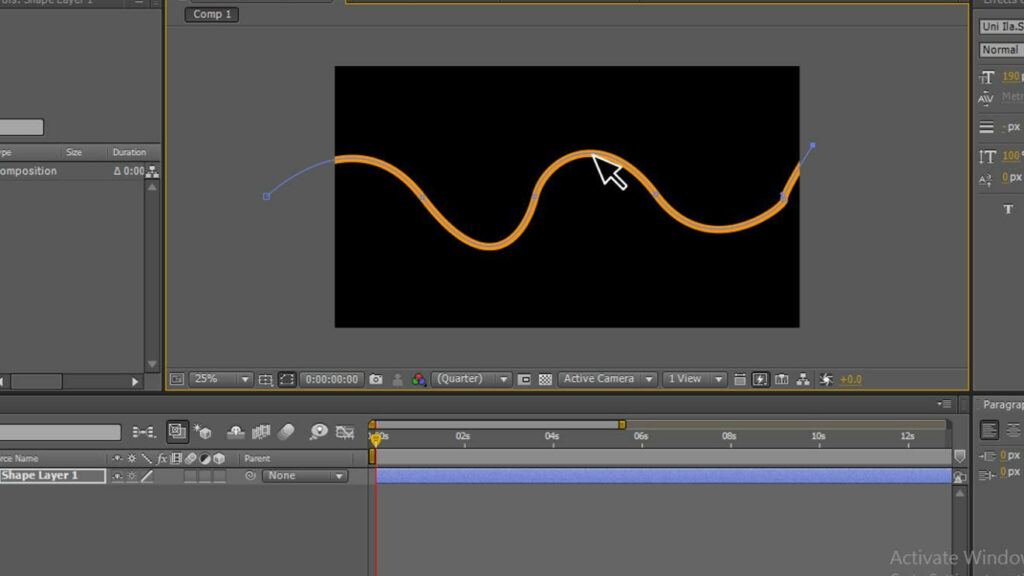
- Create Shapes and Paths: Use the Pen tool to create shapes and paths directly on the composition window. Click to create anchor points, and drag to create curved bezier segments. Release the mouse button to complete the shape or path.
- Adjust Anchor Points and Handles: After creating a shape or path, use the Selection tool (V) to adjust the position of anchor points and handles. Click and drag anchor points to move them, and drag bezier handles to adjust the curvature of the segments.
- Convert Shapes to Masks: To use a shape as a mask, select the shape layer in the timeline and click the “Add” dropdown menu in the toolbar. Choose “Alpha Matte” or “Luma Matte” to apply the shape as a mask to the layer below.
- Animate Shapes and Paths: To animate shapes and paths, enable keyframe animation for the “Path” property of the shape layer. Move the playhead to the desired frame, adjust the position or shape of the path, and set a keyframe. After Effects will automatically interpolate the motion between keyframes.
- Create Custom Motion Paths: Use the Pen tool to create custom motion paths for animated objects or text layers. Draw a path directly on the composition window, then link the position property of the animated layer to the path using expressions or parenting.
- Apply Effects to Paths: After creating a path, you can apply effects to it to create interesting visual effects. For example, apply the “Stroke” effect to create animated outlines along the path, or use the “Trim Paths” effect to animate the drawing of the path over time.
- Combine Paths and Masks: After Effects allows you to combine multiple paths and masks to create complex shapes and animations. Use the “Merge Paths” option in the shape layer’s contents to combine multiple paths into a single shape.
- Fine-Tune Animation Curves: After setting keyframes for animation, use the Graph Editor to fine-tune the animation curves and adjust the speed and timing of the animation. Smooth out curves for fluid motion, or add bezier handles for more organic movement.
- Experiment with Stroke and Fill Options: After creating shapes and paths, experiment with different stroke and fill options to customize the appearance of your animations. Adjust stroke width, color, and opacity to achieve the desired visual effect.
- Preview and Render: Once you’ve finished animating your shapes and paths, preview the animation in After Effects to ensure everything looks as intended. Then, render the composition to create the final video file. Go to Composition > Add to Render Queue, adjust render settings as needed, and click Render.
Tips and Best Practices for Using the Pen Tool for Animation in After Effects:
- Practice Regularly: Mastering the Pen tool requires practice and experimentation. Dedicate time to practicing drawing shapes, creating paths, and animating motion paths to become proficient with the tool.
- Use Reference Guides: When drawing complex shapes or paths, use reference guides such as rulers, grids, or reference images to ensure accuracy and precision.
- Be Patient and Precise: Take your time when drawing shapes and paths with the Pen tool. Be patient and precise with your movements to achieve clean and smooth results.
- Combine with Other Tools: Experiment with combining the Pen tool with other tools and features in After Effects, such as masks, effects, and expressions, to create complex animations and visual effects.
- Keep Layers Organized: When working with multiple shapes and paths in a composition, keep your layers organized by naming them descriptively and using color labels to differentiate between them.
- Seek Inspiration: Draw inspiration from other animators and designers who have mastered the Pen tool. Study their work and techniques to gain insights and ideas for your own animations.
Conclusion: The Pen tool in After Effects is a powerful and versatile tool that enables animators and designers to create intricate shapes, paths, and animations with precision and control. By following the steps outlined in this comprehensive guide and incorporating tips and best practices, you’ll be well-equipped to harness the full potential of the Pen tool and create stunning animations that captivate and engage your audience. So, dive in, experiment fearlessly, and let your creativity soar as you master the art of animation with the Pen tool in After Effects.


