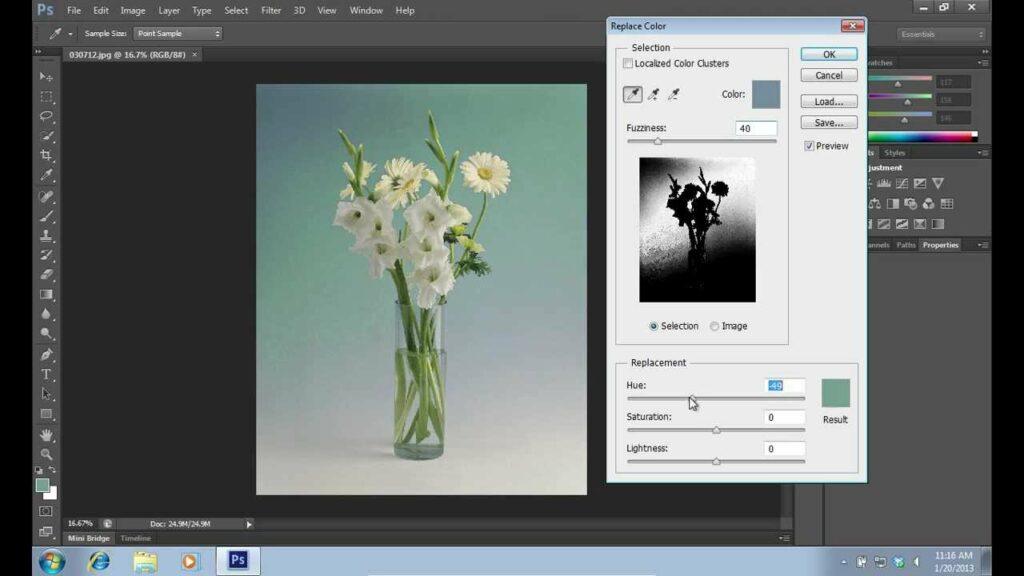
Unleashing Creativity: A Comprehensive Guide on Changing Colors with the Color Replacement Tool in Photoshop

Introduction:
In the ever-evolving landscape of digital creativity, Adobe Photoshop continues to be a powerhouse, offering a myriad of tools for image manipulation. Among these tools, the Color Replacement Tool stands out as a versatile option for altering and transforming colors within an image. Whether you’re a graphic designer, photographer, or hobbyist seeking to infuse vibrancy or experiment with color schemes, this comprehensive guide will walk you through the intricate process of changing colors with the Color Replacement Tool in Photoshop.
Understanding the Basics:
Before delving into the depths of the Color Replacement Tool, it’s essential to grasp some fundamental concepts:
- Adobe Photoshop: Adobe Photoshop is a premier graphic design and photo editing software that enables users to manipulate and enhance images with an extensive set of tools.
- Color Modes: Understanding color modes, such as RGB (Red, Green, Blue) and CMYK (Cyan, Magenta, Yellow, Black), is crucial. RGB is commonly used for digital images, while CMYK is used for print.
- Layers and Blend Modes: Layers and blend modes play a pivotal role in Photoshop. Mastery of these features allows for non-destructive editing and seamless integration of color changes into an image.
- Color Replacement Tool: The Color Replacement Tool is a unique brush tool in Photoshop designed specifically for altering colors. It replaces the sampled color with the selected foreground color while maintaining the texture and shading of the original.
Now, let’s embark on the step-by-step journey of changing colors with the Color Replacement Tool in Photoshop:
Step 1: Open Your Image in Photoshop
a. Launch Photoshop and open the image you wish to work on by navigating to “File” > “Open” and selecting the desired file.
Step 2: Duplicate the Background Layer
a. In the Layers panel, right-click on the Background layer and choose “Duplicate Layer.” This ensures you work on a copy, preserving the original image.
Step 3: Select the Color Replacement Tool
a. Locate the Color Replacement Tool in the toolbar, typically nested with the Brush Tool. Click and hold on the Brush Tool icon to reveal the Color Replacement Tool.
Step 4: Adjust Tool Settings
a. In the Options Bar at the top of the screen, adjust the tool settings: – Set the brush size to match the area you want to change. – Choose “Color” for the mode. – Adjust the “Limits” option based on whether you want to affect only contiguous colors or all similar colors.
Step 5: Set Foreground Color
a. Choose the desired color you want to replace the existing color with by setting the foreground color. Click on the foreground color swatch and pick a color from the Color Picker.
Step 6: Sample the Target Color
a. Hold down the “Alt” (Option on Mac) key and click on the color you want to replace in the image. This samples the color as the target color for replacement.
Step 7: Start Painting with the Color Replacement Tool
a. Begin painting over the areas you want to change. The Color Replacement Tool will replace the sampled color with the chosen foreground color while preserving texture and shading.
b. Adjust the brush size as needed for different areas of the image.
Step 8: Fine-Tune with Additional Layers
a. Create new adjustment layers, such as Hue/Saturation or Color Balance, to fine-tune the overall color balance of the image.
b. Experiment with blend modes and layer opacities to achieve the desired effect.
Step 9: Refine Edges with Layer Masks
a. Add a layer mask to the duplicated layer.
b. Use a soft brush with black color on the layer mask to refine edges and blend the color changes seamlessly into the original image.
Step 10: Final Touches and Export
a. Fine-tune the overall image, ensuring harmony between the color changes and the rest of the photo.
b. Once satisfied, save your work by navigating to “File” > “Save As” or “Export” to preserve the changes in your preferred format.
Advanced Tips for Precision:
- Use a Low Flow Rate: Set the Flow option in the Options Bar to a low percentage (e.g., 10-20%) for subtle and gradual color changes. This prevents drastic alterations and allows for more control.
- Adjust Tolerance and Sampling: Experiment with the Tolerance setting in the Options Bar to control the range of colors affected. Adjust the Sampling option to determine whether the tool samples the current layer or all layers.
- Combine Color Replacement with Blending Modes: Create duplicate layers with different blend modes to experiment with blending color changes. Modes like Overlay or Soft Light can produce unique and nuanced effects.
- Consider Color Psychology: When changing colors, consider the psychological impact of different hues. Colors evoke emotions, and understanding the principles of color psychology can guide your choices.
Conclusion:
The Color Replacement Tool in Photoshop is a gateway to endless possibilities for creative expression. By understanding the fundamentals and mastering the intricacies outlined in this comprehensive guide, you can confidently navigate the realm of color manipulation. Whether you’re revitalizing images, exploring new aesthetics, or refining your artistic vision, the Color Replacement Tool empowers you to bring your ideas to life with a stroke of digital brilliance. Embrace the versatility, unleash your creativity, and let the colors within your digital canvas tell a captivating visual story.


