How to Repair Peeling Paint on Walls and Ceilings
How to Repair Peeling Paint on Walls and Ceilings
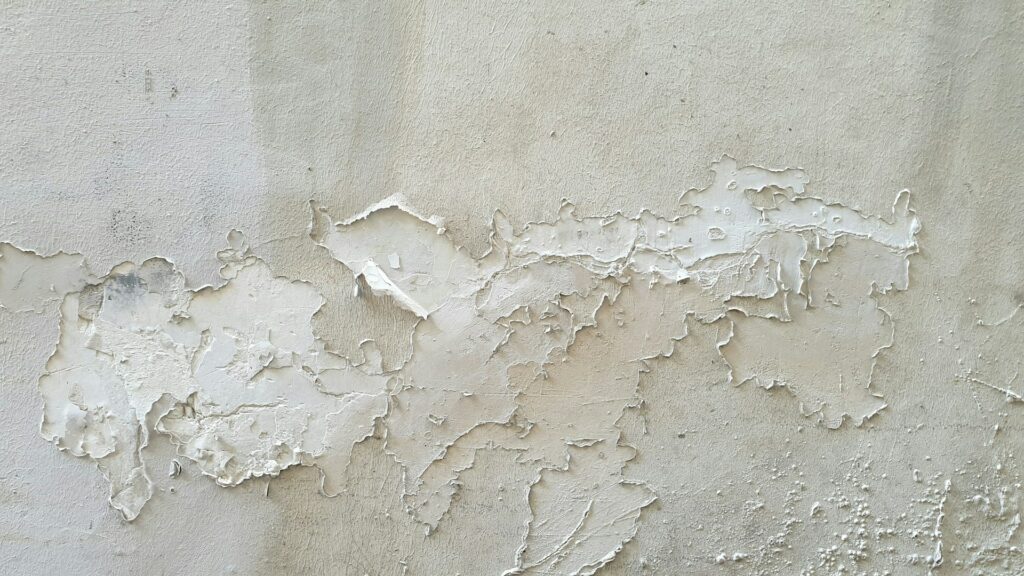
Paint that is peeling is a typical issue in houses, and it may quickly give the impression that a space has been neglected. The presence of this condition, whether it is seen on walls, ceilings, or in wet corners, is sometimes an indication of underlying problems such as dampness, inadequate surface preparation, or wear caused by age. The paint that is peeling might become more severe if it is not handled, which can lead to structural problems or water damage over time. When tackled in a systematic manner, restoring paint that is peeling is, fortunately, a process that may be accomplished. It is possible to restore the smoothness and freshness of the finish on your walls and ceilings if you have patience and use the appropriate procedures.
Explanation of the Reasons Why Paint Peels
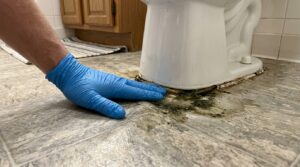
Before beginning any kind of restoration, it is essential to have a solid understanding of the reasons why paint peels in the first place. The presence of moisture is one of the most typical reasons. The high humidity that is often found in bathrooms, kitchens, and basements may cause paint layers to leak behind them, which can damage the adherence of the paint. There is also the possibility that water may permeate walls and ceilings due to leaks around windows, roofs, or pipes, which will result in bubbling and flaking.
There is also a significant impact played by surface preparation. When painting over surfaces that are unclean, dusty, or shiny without first priming them properly, paint is often unable to adhere properly onto the surface. The flexibility of paint that is of poor quality or that has been used for a long period may be lost with time. Additionally, excessive temperature fluctuations may cause walls to expand and contract, which can lead to cracks and peeling. In conclusion, the presence of numerous layers of old paint might result in a lack of adherence, which can cause fresh coats to come off. Gaining an understanding of the underlying reason can assist you in preventing the issue from occurring again.
1. Remove Any Loose Paint
The removal of any paint that is flaking or peeling is the first stage in any repair process. In order to properly peel and remove damaged paint, you might make use of a putty knife or scraper. It is imperative that you remove any edges that are lifting, since leaving them behind might potentially cause the paint to peel another time. In order to guarantee a clean and sturdy surface for repairs, it is preferable to remove somewhat more than the minimum amount.
2. Sand the surface of the object.
The area should be sanded once the loose paint has been removed in order to smooth out any rough edges and merge the restored piece with the surface that is around it. The first step in achieving a smoother surface is to remove uneven spots by using sandpaper with a medium grit. After that, transition to sandpaper with a fine grit. Sanding not only enhances adhesion but also assures that the repaired area will not be evident after painting. Sanding is a two-fold process.
3. Repairing Holes and Cracks is the Third Step
Check the wall or ceiling for any holes, cracks, or dents that may be present. up order to fill up these defects, you may use joint compound or spackle. Ensure that the compound is applied with care, making sure that it is level with the surface that is around it. When dealing with larger cracks, it may be necessary to apply many coats, softly sanding in between each one. In order to get a finish that seems professional, it is vital to have a surface that is smooth and even.
4. Clean the Surface
The cleaning of the surface is an essential step that is often neglected. It is possible for primer and paint to not adhere correctly if they are covered with dust, grease, and filth. Following a thorough cleaning with a solution of a mild detergent, the area should be allowed to dry fully before being used again. With a clean surface, the paint will adhere better and will endure for a longer period of time.
5. Priming.
In order to ensure the longevity of the repaired area, priming is required. Sealing the surface, preventing moisture from penetrating, and ensuring greater adherence for the topcoat are all benefits of using primer. A uniform coat should be applied over the repaired portion, with special attention paid to covering the edges. This will ensure that the newly applied paint fits in perfectly with the existing wall or ceiling. Wait until the priming has fully dried before beginning to paint.
6. Paint the Area.
Put on the topcoat of paint after the priming has had enough time to dry. When it comes to mixing the fresh paint with the surface that is around it, a brush is the best tool to use for tiny areas. Applying a roller will result in a more equal finish when applied to bigger portions. Apply at least two coats, and wait until each one has completely dried before moving on to the next. By feathering the edges, you can assure that the mended area will blend in organically and will no longer be noticeable after the process is complete.
How to Prevent Peeling in the Future
In addition to restoring the paint, it is as necessary to prevent it from peeling. The management of moisture is of the utmost importance; in locations that are prone to excessive humidity, ventilation, dehumidifiers, and exhaust fans should be used. Before beginning to paint, surfaces should always be carefully prepared by using a primer of superior quality and paint that is appropriate for the area. Paint should not be done in conditions of high humidity or excessive temperatures, and any leaks or water damage should be addressed quickly. You may maintain the perfect appearance of your walls and ceilings for many years by performing routine maintenance and inspections.
Paint that is peeling is more than simply an aesthetic concern; it may be an indication of underlying issues that, if continued to be neglected, may become more severe over time. It is possible to restore walls and ceilings to a smooth and long-lasting finish by first removing loose paint with care, then sanding and fixing the surface, then adding priming, and last repainting. Protecting against peeling in the future may be accomplished by paying attention to moisture management, surface preparation, and the use of high-quality materials. Your property may continue to have a clean, fresh, and professional look for many years to come if you have patience and ensure that you use the appropriate approach.