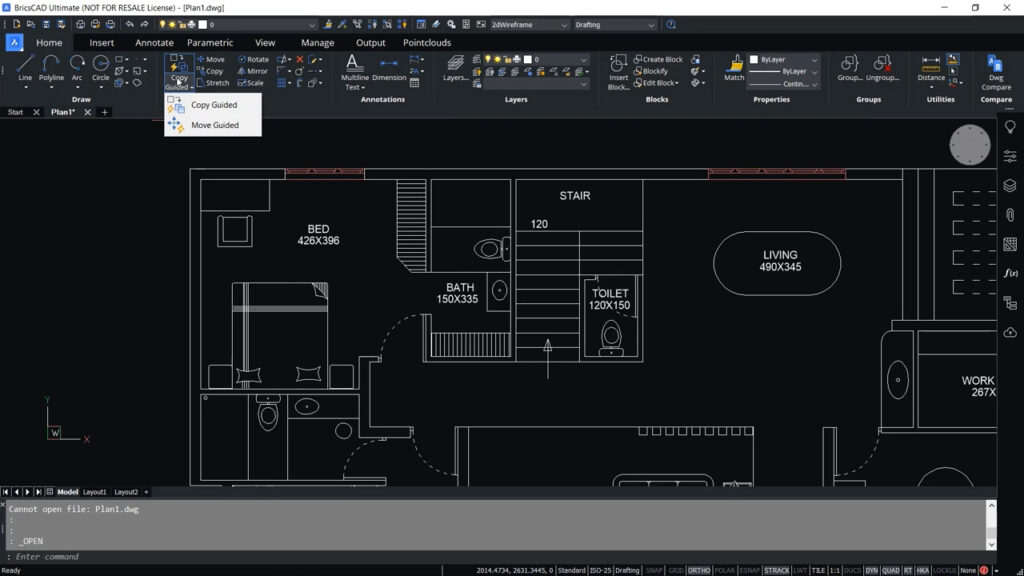
How to Set Up and Manage Workspaces in BricsCAD

Introduction
Workspaces in BricsCAD are essential for organizing and customizing your workspace environment to suit different tasks and workflows. A well-configured workspace can significantly enhance productivity by providing quick access to tools and settings relevant to specific tasks, such as 2D drafting, 3D modeling, or architectural design. This article will guide you through the process of setting up, customizing, and managing workspaces in BricsCAD, catering to both new users and experienced professionals seeking to optimize their CAD environment.
Understanding Workspaces in BricsCAD
1. What is a Workspace?
A workspace in BricsCAD refers to a collection of user interface elements, menus, toolbars, ribbon panels, and settings tailored to a specific task or user preference. BricsCAD supports multiple workspaces, allowing users to switch between them seamlessly based on their current work requirements.
2. Benefits of Using Workspaces
- Customization: Tailor the interface to your specific workflow, improving efficiency and ease of use.
- Task-specific Layouts: Create different setups for tasks like drafting, 3D modeling, rendering, and more.
- Consistency: Maintain consistent settings across projects or teams, ensuring standardized workflows.
Setting Up Workspaces in BricsCAD
1. Default Workspaces in BricsCAD
BricsCAD comes with several predefined workspaces to accommodate various disciplines and workflows:
- Default: General-purpose workspace with essential tools and menus.
- 2D Drafting: Optimized for 2D drawing and drafting tasks.
- 3D Modeling: Configured for efficient 3D modeling and visualization.
- Mechanical: Tailored for mechanical design with specialized tools.
- BIM: Designed for Building Information Modeling (BIM) workflows.
2. Creating a New Workspace
To create a new workspace in BricsCAD:
- Step 1: Open BricsCAD and navigate to the Settings or Options dialog (typically found under the Tools menu).
- Step 2: Go to the Profiles & Workspaces section.
- Step 3: Click on New or Duplicate to create a copy of an existing workspace.
- Step 4: Customize the new workspace by rearranging toolbars, adding or removing menus, and adjusting settings to match your workflow.
3. Customizing Toolbars and Menus
- Toolbar Customization: Right-click on any toolbar in BricsCAD to customize it. You can add, remove, or rearrange toolbar buttons to suit your needs.
- Menu Customization: Use the Menu Editor (accessible from the Settings or Options dialog) to modify menu items and create custom menus.
Managing Workspaces in BricsCAD
1. Switching Between Workspaces
To switch between different workspaces in BricsCAD:
- Use the Workspace Switching dropdown menu on the toolbar or ribbon.
- Alternatively, use the
WSCURRENTcommand and select the desired workspace from the list.
2. Saving and Exporting Workspaces
- Saving: Changes made to a workspace can be saved by clicking Apply or OK in the Options dialog.
- Exporting: You can export a workspace configuration for backup or sharing purposes. This option is available in the Profiles & Workspaces section of the Options dialog.
3. Resetting or Deleting Workspaces
- Reset: To restore a workspace to its default settings, select it from the Profiles & Workspaces section and choose Reset.
- Delete: To remove a custom workspace, select it and click Delete.
Advanced Workspace Management
1. Workspace Variables and Settings
BricsCAD uses variables ($VARS) to store workspace-specific settings. These variables can be customized or queried using the Variable Editor or directly in the command line.
2. Workspace Deployment in Teams
For teams or organizations:
- Use network deployment tools to distribute standardized workspace configurations.
- Utilize scripting or configuration files (
ACAD.LSP,ACAD.CUIX, etc.) for automated workspace setup.
Conclusion
Effective workspace management is crucial for optimizing your workflow in BricsCAD. By setting up and customizing workspaces tailored to specific tasks or preferences, you can streamline operations, enhance productivity, and ensure a consistent CAD environment across projects. Whether you’re a beginner exploring basic customization or an advanced user optimizing for complex workflows, mastering workspace setup in BricsCAD empowers you to work more efficiently and creatively in your CAD projects.
In this article, we’ve covered the fundamentals of setting up, customizing, and managing workspaces in BricsCAD. By following these guidelines and exploring the various customization options available, you can create a personalized CAD environment that meets your unique needs and maximizes your productivity.
Start optimizing your CAD workflow with customized workspaces in BricsCAD today!


