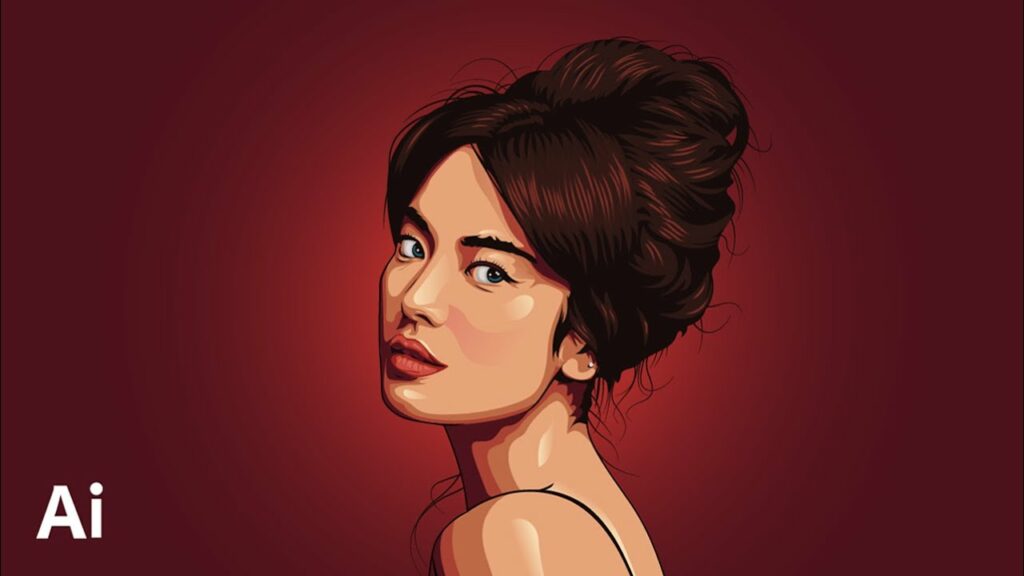
Crafting Timeless Portraits: A Comprehensive Guide to Making Vector Portraits in Adobe Illustrator
Introduction: Vector portraits are captivating artworks that convey the essence and personality of individuals through precise lines, shapes, and colors. Adobe Illustrator provides a powerful platform for creating vector portraits with unparalleled detail and flexibility. In this extensive guide, we’ll explore the step-by-step process of making vector portraits in Adobe Illustrator, covering everything from gathering references and tracing outlines to adding details and refining colors, with practical tips and creative insights along the way.
Part 1: Gathering References and Preparing Artwork
- Selecting a Reference Photo: Choose a high-quality reference photo that captures the subject’s features, expression, and personality. Look for clear lighting, sharp details, and interesting poses or compositions.
- Preparing the Artboard: Open Adobe Illustrator and create a new document with dimensions suitable for your portrait. Consider the size and aspect ratio of the final artwork, as well as any specific requirements for printing or digital display.
Part 2: Tracing Outlines and Shapes
- Importing the Reference Photo: Place the reference photo on the artboard in Adobe Illustrator. Reduce the opacity of the photo to make it easier to trace over, but still visible enough for reference.
- Tracing Outlines with the Pen Tool: Use the Pen Tool (P) in Adobe Illustrator to trace the outlines and contours of the subject’s face and features. Start with basic shapes and lines, then refine and adjust the curves and angles to match the reference photo.
Part 3: Adding Details and Features
- Creating Facial Features: Use a combination of shapes, lines, and anchor points to create the eyes, nose, mouth, and other facial features. Pay close attention to proportions, symmetry, and expression to capture the likeness of the subject.
- Adding Hair and Textures: Create the hair and textures using a combination of shapes, strokes, and patterns. Experiment with different brush styles and stroke weights to add depth and dimension to the hair and other textured areas.
Part 4: Refining Colors and Shading
- Coloring the Portrait: Apply base colors to the portrait using the Fill and Stroke options in Adobe Illustrator. Use the Eyedropper Tool (I) to sample colors from the reference photo and maintain accuracy in color representation.
- Adding Highlights and Shadows: Use gradients, transparency, and blending modes to add highlights and shadows to the portrait. Pay attention to light sources and shading patterns in the reference photo to create realistic lighting effects.
Part 5: Fine-Tuning and Finalization
- Reviewing and Adjusting: Review the portrait and make necessary adjustments to ensure accuracy and likeness to the subject. Pay attention to details such as proportions, features, and expressions, and refine as needed.
- Saving and Exporting: Once you’re satisfied with the portrait, save the artwork in Adobe Illustrator format and export it in the desired format for printing or digital sharing. Consider saving multiple versions or formats for different use cases or platforms.
Conclusion
Creating vector portraits in Adobe Illustrator is a rewarding and creative process that allows artists to capture the essence and personality of individuals through precise lines, shapes, and colors. By following the comprehensive guide outlined above, you’ll be equipped with the knowledge and skills to create stunning vector portraits that resonate with viewers. Remember to experiment, practice, and refine your techniques to continually improve your portrait-making skills. With dedication and creativity, you can craft vector portraits that capture the beauty and uniqueness of your subjects, leaving a lasting impression on viewers.