Preserving Your Work: A Comprehensive Guide to Saving Your Drawing in AutoCAD
In the dynamic world of computer-aided design (CAD), where precision and creativity intersect, saving your work is paramount. AutoCAD, the leading software developed by Autodesk, offers a plethora of features to facilitate the creation of intricate drawings and models. However, without saving your progress, your hard work could be lost in an instant. In this comprehensive guide, we’ll explore every facet of saving your drawing in AutoCAD, ensuring that your creations are preserved and accessible whenever you need them.
Understanding the Importance of Saving:
Before delving into the intricacies of saving in AutoCAD, it’s crucial to understand the significance of this process. Saving your drawing not only preserves your progress but also safeguards against unexpected software crashes, power outages, or system failures. By regularly saving your work, you ensure that your designs are secure and accessible for future reference, collaboration, and revision.
Step 1: Creating Your Drawing:
The first step in saving your drawing is, of course, creating it. Whether you’re drafting architectural plans, designing mechanical components, or crafting intricate 3D models, AutoCAD provides the tools and capabilities to bring your ideas to life. Once your drawing is complete or reaches a significant milestone, it’s time to save your work to prevent any potential loss of progress.
Step 2: Accessing the Save Options:
In AutoCAD, saving your drawing is a straightforward process. To save your work, you can utilize several methods:
- Ctrl + S Shortcut: Pressing Ctrl + S on your keyboard is a quick and convenient way to save your drawing. This universal shortcut triggers the save command, allowing you to instantly save your progress without interrupting your workflow.
- Save Icon in the Quick Access Toolbar: The Quick Access Toolbar, located at the top left corner of the AutoCAD interface, features a dedicated save icon. Clicking on this icon performs the save command, providing another efficient method for saving your drawing.
- File Menu: Alternatively, you can access the save command through the File menu in the AutoCAD interface. Simply click on File > Save or File > Save As to initiate the save process.
Step 3: Choosing a File Name and Location:
When saving your drawing for the first time, AutoCAD prompts you to choose a file name and location for your drawing file. Select a descriptive file name that reflects the content or purpose of your drawing, making it easier to identify and organize your files. Additionally, choose a suitable location on your computer or network where you intend to store your drawing file.
Step 4: Selecting the File Format:
AutoCAD offers various file formats for saving your drawings, each with its own unique characteristics and compatibility considerations:
- DWG (Drawing): The default file format for AutoCAD drawings, DWG files preserve all drawing elements, layers, and properties. DWG files are widely supported by CAD software and are ideal for sharing and collaborating with other AutoCAD users.
- DXF (Drawing Exchange Format): DXF files are used for exchanging drawing data between different CAD programs. While less feature-rich than DWG files, DXF files are compatible with a wide range of CAD software and are commonly used for interoperability purposes.
- PDF (Portable Document Format): PDF files provide a convenient way to share drawings with non-CAD users. PDFs retain visual fidelity and can be viewed and printed using widely available software such as Adobe Acrobat Reader.
Step 5: Saving Your Drawing:
Once you’ve chosen a file name, location, and format for your drawing, click the “Save” or “Save As” button to initiate the save process. AutoCAD will create a file with the specified name and format, saving your drawing to the designated location on your computer or network. A confirmation message may appear indicating that your drawing has been successfully saved.
Step 6: Periodic Saving and Incremental Saving:
In addition to saving your drawing when you reach significant milestones, it’s essential to save your work periodically to minimize the risk of data loss. Get into the habit of saving your drawing every few minutes or after completing a series of significant edits or additions. Furthermore, consider utilizing incremental saving techniques, such as creating multiple versions of your drawing file with different file names or timestamps, to maintain a history of changes and revisions.
Step 7: AutoSave Feature:
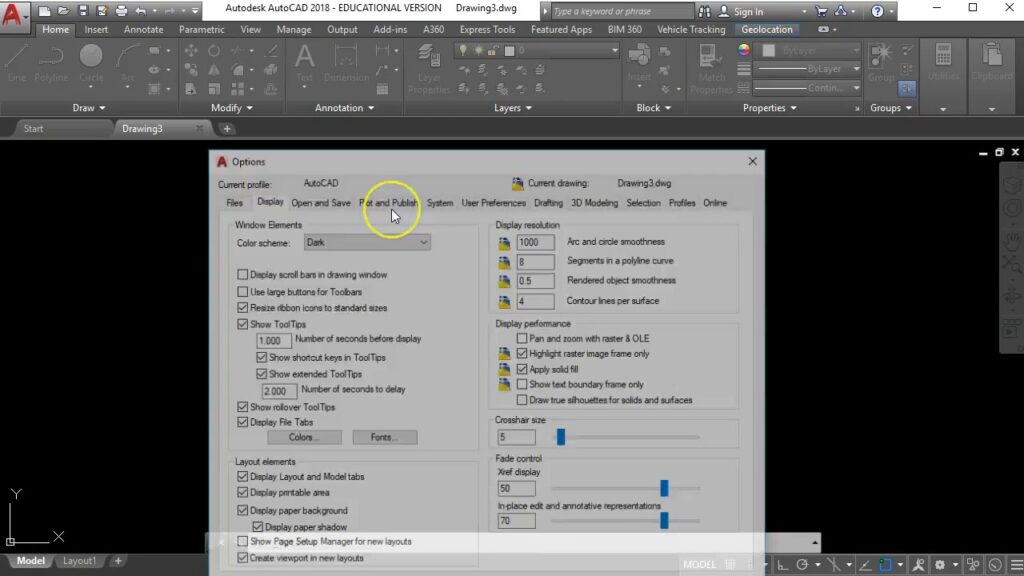
AutoCAD includes an AutoSave feature that automatically saves your work at regular intervals, providing an additional layer of protection against data loss. By default, AutoSave creates a backup file of your drawing every few minutes, allowing you to recover your work in the event of a software crash or unexpected interruption. You can customize the AutoSave settings, including the interval duration and location of the backup files, to suit your preferences and workflow.
Step 8: Reviewing and Managing Saved Drawings:
After saving your drawing, take a moment to review the saved file to ensure that it meets your expectations. Open the saved drawing in AutoCAD to verify that all elements, layers, and properties are intact and accurately represented. Additionally, consider implementing a file management system to organize and manage your saved drawings effectively. Create folders, subfolders, and naming conventions to categorize and retrieve drawings efficiently, streamlining your workflow and enhancing productivity.
Conclusion:
Saving your drawing in AutoCAD is a fundamental aspect of the design process, ensuring that your hard work is preserved and accessible whenever you need it. By following this comprehensive guide, you’ll gain the knowledge and skills to navigate the save options, choose the appropriate file format, and implement best practices for saving and managing your drawings effectively. With these tools at your disposal, you can confidently create, save, and safeguard your designs in AutoCAD, empowering you to unleash your creativity and achieve your design goals with precision and confidence.