A Comprehensive Guide on How to Print a PowerPoint Presentation: Unlocking the Power of Physical Copies
Introduction: PowerPoint presentations have become a ubiquitous tool for conveying information, whether in classrooms, boardrooms, or conference halls. While digital presentations offer flexibility and interactivity, there are times when a physical copy is preferred or necessary. Whether you’re preparing handouts for a meeting, creating study materials for students, or archiving your presentation for future reference, knowing how to print a PowerPoint presentation is a valuable skill. In this comprehensive guide, we’ll explore the step-by-step process of printing a PowerPoint presentation, covering everything from setting print options to troubleshooting common issues. By following these instructions, you’ll be able to produce professional-quality printed copies of your presentations with ease.
Step 1: Open Your PowerPoint Presentation
- Launch Microsoft PowerPoint on your computer.
- Open the PowerPoint presentation you want to print by clicking on “File” in the top-left corner, then selecting “Open” and navigating to the location of your presentation file.
Step 2: Review and Edit Your Presentation (Optional)
- Before printing, review your PowerPoint presentation to ensure it is formatted correctly and contains all necessary content.
- Make any necessary edits or adjustments to the slides, such as resizing images, correcting typos, or rearranging slide order.
Step 3: Access the Print Menu
- Once you’re satisfied with your presentation, click on “File” in the top-left corner of the PowerPoint window.
- From the dropdown menu, select “Print” to access the print options.
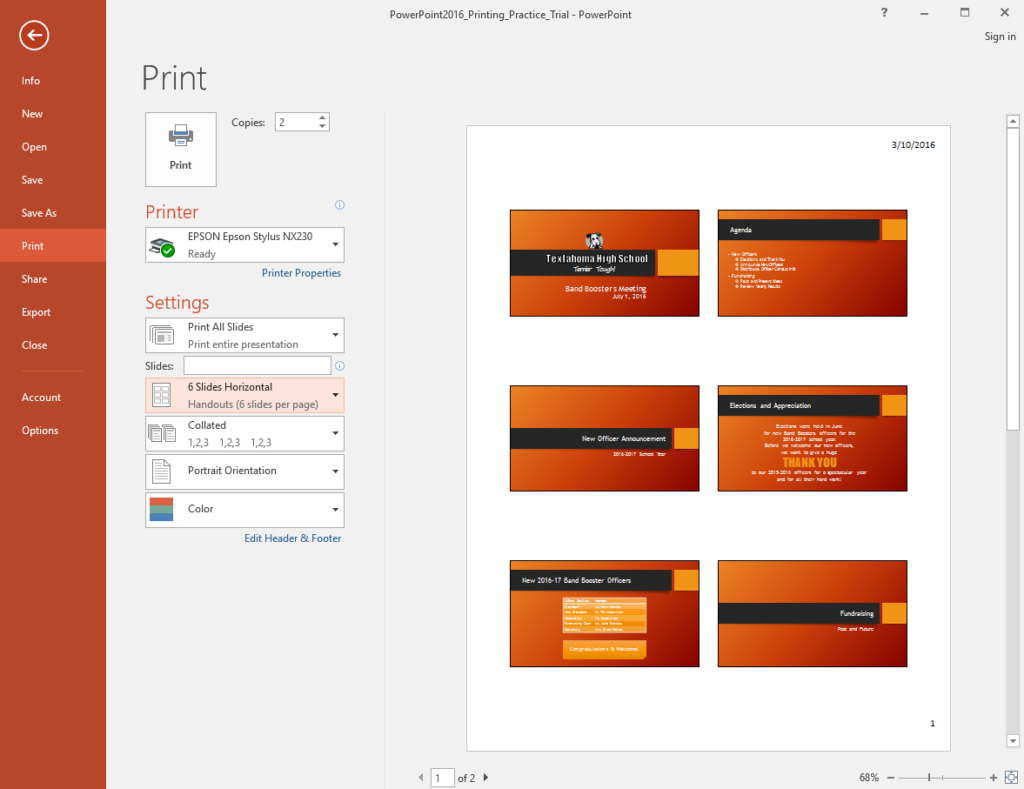
Step 4: Set Print Options
- In the Print menu, review the print settings to ensure they meet your needs.
- Specify the number of copies you want to print in the “Copies” field.
- Choose the printer you want to use from the “Printer” dropdown menu.
- Select additional print options, such as color or grayscale printing, double-sided printing, and slide layout (full page, notes pages, or handouts).
Step 5: Preview Your Printout (Optional)
- To preview how your printed slides will look, click on the “Print Preview” button.
- Scroll through the preview to ensure that all slides are displayed correctly and that there are no formatting errors or missing content.
Step 6: Print Your Presentation
- Once you’re satisfied with the print settings and preview, click on the “Print” button to initiate printing.
- Wait for the printer to complete the printing process. Depending on the size and complexity of your presentation, this may take some time.
- Once printing is complete, retrieve your printed PowerPoint presentation from the printer’s output tray.
Step 7: Review the Printed Presentation
- After printing, review the printed presentation to ensure that all slides are legible and correctly formatted.
- Check for any printing errors, such as missing text or images, smudges, or misaligned pages.
- If you discover any issues, you may need to reprint the presentation or make adjustments to your print settings and try again.
Common Printing Issues and Troubleshooting Tips:
- Blank Pages: If your printer is producing blank pages, check the print settings to ensure that all slides are selected for printing and that the correct printer is chosen.
- Poor Print Quality: If your printed slides appear blurry or pixelated, check the print resolution settings in PowerPoint and adjust them as needed.
- Page Orientation: If your slides are printing in the wrong orientation (e.g., landscape instead of portrait), adjust the page setup settings in PowerPoint before printing.
- Paper Jams: If your printer experiences a paper jam while printing, carefully remove the jammed paper and clear any debris from the printer’s paper path before resuming printing.
- Printer Connectivity Issues: If your printer is not responding or is displaying error messages, check the printer’s connection to your computer and ensure that it is properly configured and powered on.
Conclusion: In conclusion, printing a PowerPoint presentation is a straightforward process that allows you to create physical copies of your slides for various purposes. By following the step-by-step instructions outlined in this guide and troubleshooting common printing issues, you can produce professional-quality printed presentations with ease. Whether you’re preparing handouts for a meeting, distributing study materials for students, or archiving your presentation for future reference, knowing how to print a PowerPoint presentation is a valuable skill that will serve you well in both personal and professional settings. So, the next time you need to create physical copies of your slides, remember these tips and techniques to ensure a smooth and successful printing experience.


