Precision Unleashed: A Comprehensive Guide to Making Selections with the Pen Tool in Photoshop
Introduction:
In the vast realm of Adobe Photoshop, mastering the art of selections is akin to unlocking a door to boundless creative possibilities. Among the myriad selection tools at your disposal, the Pen Tool stands out as a powerhouse, offering unparalleled precision and control. In this comprehensive guide, we will embark on a journey through the intricacies of making selections with the Pen Tool in Photoshop, unveiling its features, techniques, and applications that empower digital artists and designers to achieve pixel-perfect results.
Understanding the Pen Tool Basics:
Before diving into the nuanced techniques, it’s essential to grasp the fundamentals of the Pen Tool in Photoshop:
- Accessing the Pen Tool:
- Locate the Pen Tool in the toolbar on the left side of the Photoshop interface. It is represented by an icon resembling a pen nib.
- Pen Tool Modes:
- The Pen Tool operates in two primary modes – “Path” and “Shape.” In this guide, we will primarily focus on the “Path” mode, which allows for creating precise, editable paths.
- Pen Tool Options Bar:
- The Options Bar at the top of the Photoshop interface provides crucial settings for the Pen Tool. Adjustments such as the pen mode, path operations, and stroke options can be customized here.
Creating Paths with the Pen Tool:
- Initial Clicks and Straight Paths:
- Click on the canvas to create anchor points. Each click establishes a point, and a straight path is formed between consecutive points. Continue clicking to create a series of connected straight segments.
- Curved Paths with Bezier Handles:
- For curved paths, click and drag after placing an anchor point. This action introduces Bezier handles that control the direction and curvature of the path. Experiment with handle lengths and angles to achieve the desired curve.
- Closing Paths:
- To close a path, click on the initial anchor point or right-click and choose “Close Path.” Closed paths are crucial for creating selections and shapes.
Editing Paths with Precision:
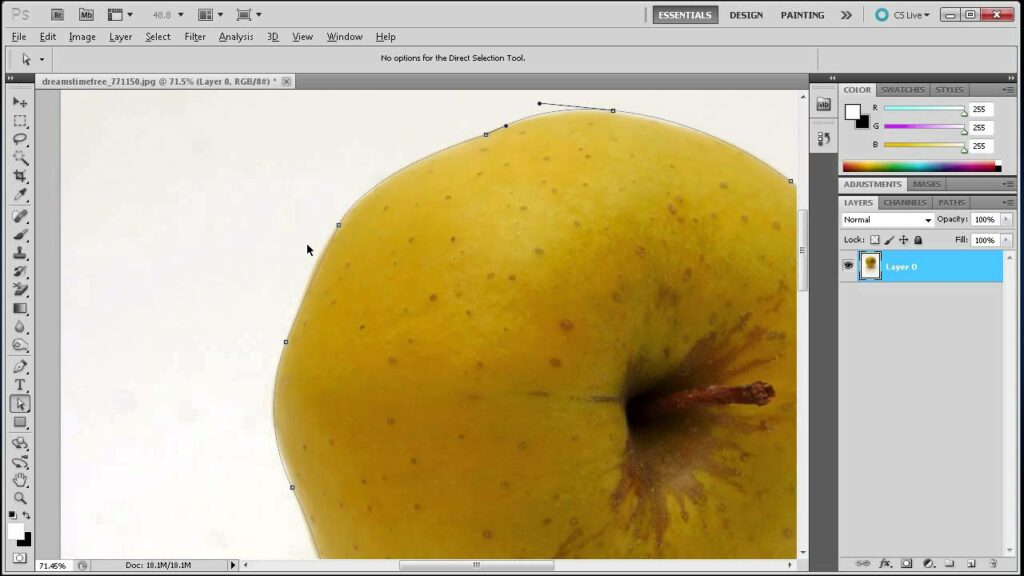
- Adjusting Anchor Points:
- Select the Direct Selection Tool (white arrow) to manipulate individual anchor points. Click and drag to reposition points, and adjust Bezier handles to refine curves.
- Adding and Deleting Anchor Points:
- The Pen Tool allows for dynamic path editing. To add a point, click on the path; to delete a point, press the “Alt” (Option) key and click on the point.
- Converting Points:
- Convert smooth points to corner points and vice versa by holding the “Ctrl” (Command) key and clicking on the point. This flexibility enhances your control over path segments.
Making Selections with Paths:
- Creating Selections:
- To convert a path into a selection, right-click on the path and choose “Make Selection.” Set the feather radius if needed and click “OK” to generate a precise selection.
- Refining Selections:
- After creating a selection, further refine it using options like “Feather,” “Contract,” or “Expand” in the Select menu. These adjustments ensure that your selections seamlessly integrate into your design.
Advanced Techniques for Pen Tool Mastery:
- Clipping Paths for Image Editing:
- In industries like e-commerce or photography, the Pen Tool shines in creating clipping paths. This technique involves isolating an object from its background, facilitating precise image editing.
- Illustrative Outlines and Logos:
- The Pen Tool is indispensable for crafting intricate outlines, logos, or vector graphics. Its precision makes it a favored tool for artists seeking clean, scalable graphics.
- Masking and Layer Compositions:
- Integrate the Pen Tool with layer masks for advanced image manipulation. This allows you to create complex compositions and seamlessly blend elements within a design.
- Custom Shapes and Paths for Design Elements:
- Design custom shapes and paths for buttons, icons, or decorative elements. The Pen Tool’s versatility ensures that your design elements align with your creative vision.
Common Challenges and Solutions:
- Smooth Curves:
- Achieving smooth curves requires practice. Experiment with Bezier handles and anchor point placement to refine your control over curves.
- Precision and Zooming:
- Zoom in for intricate work. Precise path creation demands close attention to detail, and zooming ensures accuracy when placing anchor points.
- Layer Organization:
- Stay organized by naming your paths in the Paths panel. This becomes crucial when working on complex projects with multiple paths.
Conclusion:
Mastering the Pen Tool in Photoshop is a journey that transforms precision into artistry. As you navigate through the intricacies of creating paths, refining anchor points, and converting paths into selections, you gain an unparalleled level of control over your design process. Whether you’re crafting detailed illustrations, making selections for image editing, or designing logos, the Pen Tool’s versatility makes it an indispensable ally in the realm of digital creativity. With practice and a keen eye for detail, the Pen Tool becomes not just a tool but a conduit for expressing your artistic vision with the utmost precision and finesse. Embrace the power of the Pen Tool, and let your creativity flow with pixel-perfect precision in the dynamic canvas of Adobe Photoshop.


