Unveiling Artistry: A Comprehensive Guide on Pasting an Image into a Layer Mask in Photoshop
Introduction:
Adobe Photoshop stands as an unparalleled platform for graphic design, providing artists and designers with a versatile toolkit to bring their creative visions to life. Among the myriad techniques at your disposal is the artful incorporation of layer masks – a powerful feature that allows for precise and nuanced control over the visibility of specific elements in a composition. This comprehensive guide aims to unravel the process of pasting an image into a layer mask in Photoshop, unlocking a world of artistic possibilities. Whether you’re a seasoned designer or an aspiring artist, mastering this technique can elevate your creations to new heights.
I. Understanding the Basics:
A. Layer Masks in Photoshop:
- Layer masks serve as non-destructive tools to control the visibility of elements within a layer.
- White reveals, black conceals – painting shades of gray on a layer mask controls transparency.
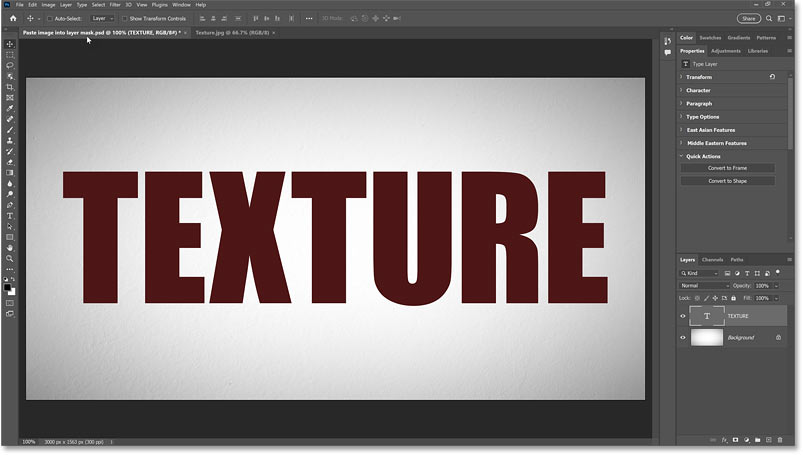
B. Image Pasting:
- Pasting an image into a layer mask involves using an existing image to define the visibility of another layer.
- This technique is particularly useful for creating intricate and complex compositions.
II. Setting the Stage:
A. Launch Photoshop and Open Your Project:
- Open Adobe Photoshop and load the project to which you want to add an image to a layer mask.
- Navigate to “File” > “Open” and select your project file.
B. Identify the Layer for Image Pasting:
- Identify the layer to which you want to apply the layer mask.
- Ensure the layer is selected in the Layers panel.
III. Pasting an Image into the Layer Mask:
A. Open the Image to Be Pasted:
- Open the image you want to use as the basis for the layer mask.
- Navigate to “File” > “Open” and select the image file.
B. Copy the Image:
- With the image open, select the entire image using “Ctrl + A” (Windows) or “Command + A” (Mac).
- Copy the selected image using “Ctrl + C” (Windows) or “Command + C” (Mac).
C. Apply the Image to the Layer Mask:
- Return to your main project file.
- Select the layer with the layer mask to which you want to apply the image.
D. Access the Layer Mask:
- Ensure the layer mask is selected in the Layers panel.
- You can click on the layer mask thumbnail to activate it.
E. Paste the Image onto the Layer Mask:
- Use “Ctrl + V” (Windows) or “Command + V” (Mac) to paste the copied image onto the layer mask.
- The pasted image will be automatically applied to the layer mask, affecting the visibility of the underlying layer.
IV. Refining and Adjusting:
A. Positioning and Scaling:
- Use the Move tool (“V”) to position and scale the pasted image within the layer mask.
- Adjust as needed to achieve the desired composition.
B. Blending and Opacity:
- Experiment with blending modes and opacity settings for seamless integration.
- Find the right balance to blend the pasted image with the underlying layer.
C. Fine-Tune with Brushes:
- Activate the Brush tool (“B”) with a soft brush.
- Paint on the layer mask with shades of gray to refine the visibility of the pasted image.
- Black conceals, white reveals, and various shades of gray control transparency.
V. Advanced Techniques:
A. Multiple Images in One Layer Mask:
- Repeat the process to paste multiple images into the same layer mask.
- Use different areas of the layer mask for each pasted image to create intricate compositions.
B. Textures and Overlays:
- Apply images as layer masks to add textures or overlays to specific elements in your design.
- Experiment with blending modes to achieve unique effects.
VI. Troubleshooting and Tips:
A. Layer Order:
- Pay attention to the layer order in the Layers panel.
- The order can impact how the pasted image interacts with other layers.
B. Experiment with Blend Modes:
- Explore different blend modes to enhance the interaction between the pasted image and the layer beneath.
- Blend modes can dramatically alter the visual impact of the pasted image.
VII. Real-World Applications:
A. Composite Photography:
- Use image pasting for creative composite photography.
- Blend different elements seamlessly for captivating visual stories.
B. Artistic Collages:
- Craft artistic collages by pasting images into layer masks.
- Experiment with layer stacking and masking to create visually stunning compositions.
VIII. Conclusion: Elevating Your Artistry
In conclusion, pasting an image into a layer mask in Photoshop is a dynamic technique that allows artists and designers to infuse their creations with depth, complexity, and artistry. This comprehensive guide has provided a step-by-step walkthrough, from identifying the layer to refining and adjusting the pasted image. As you integrate this technique into your workflow, let experimentation be your guide, unlocking the full potential of layer masks and image pasting. Whether you’re creating composite photos, artistic collages, or intricate designs, mastering this technique empowers you to elevate your artistry and bring your creative visions to fruition.


