Crafting Circular Excellence: A Comprehensive Guide on How to Crop Images in a Circle Shape with Photoshop
Introduction:
Adobe Photoshop, a cornerstone in the realm of graphic design, offers a plethora of tools to transform and enhance images. Among its versatile features is the ability to crop images into various shapes, adding an extra layer of creativity to your projects. This comprehensive guide will walk you through the step-by-step process of cropping images into a circle shape with Photoshop. Whether you’re a seasoned designer or just starting your creative journey, mastering this technique can bring a new dimension to your visual compositions.
I. Understanding the Basics:
A. The Crop Tool:
- The Crop Tool in Photoshop allows for precise and customizable image cropping.
- It is commonly used to trim or reshape images for specific design requirements.
B. Crop Options:
- Photoshop offers various crop options, including aspect ratio, resolution, and content-aware cropping.
- Understanding these options enhances your control over the cropping process.
II. Setting Up Your Canvas:
A. Launch Photoshop and Open Your Image:
- Open Photoshop and load the image you want to crop into a circle.
- Navigate to “File” > “Open” and select your image.
B. Create a New Layer:
- Go to the Layers panel and create a new layer.
- Ensure the new layer is positioned below your image layer.
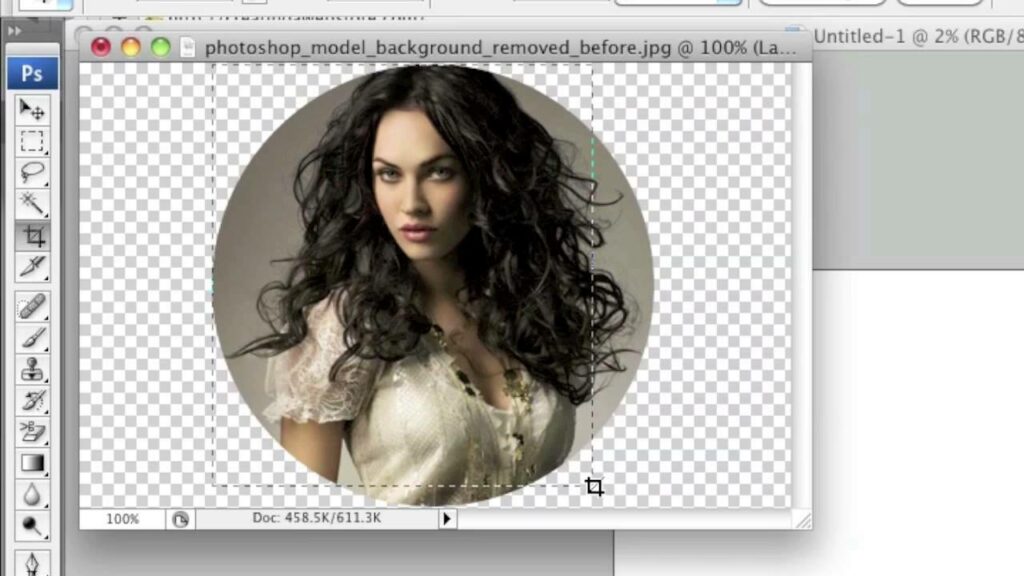
III. Selecting the Elliptical Marquee Tool:
A. Access the Tool:
- In the toolbar on the left, locate and select the Elliptical Marquee Tool.
- It looks like a circle icon and may be grouped with the Rectangular Marquee Tool.
B. Set Aspect Ratio to 1:1:
- In the top menu, set the aspect ratio to 1:1 for a perfect circle.
- Hold down the Shift key while dragging to maintain a perfect circle.
IV. Placing the Circle on Your Image:
A. Position the Marquee:
- Drag the Elliptical Marquee Tool over your image to position the circle.
- Adjust its size and position according to your design preferences.
B. Invert the Selection:
- Right-click inside the marquee and choose “Select Inverse.”
- This selects the area outside the circle for cropping.
V. Crop the Image:
A. Activate the Crop Tool:
- Select the Crop Tool from the toolbar or press the “C” key.
- The cropping handles will appear around the selected circular area.
B. Confirm the Crop:
- Press Enter (Return) to crop the image based on the circular selection.
- The result is an image cropped into a perfect circle.
VI. Refining the Edges (Optional):
A. Access the Layer Mask:
- Add a layer mask to the image layer by clicking the “Add Layer Mask” icon at the bottom of the Layers panel.
- This allows for non-destructive editing and adjustment of the circle’s edges.
B. Feathering the Edges:
- With the layer mask selected, choose “Filter” > “Blur” > “Gaussian Blur.”
- Apply a small amount of blur to feather the edges for a smoother transition.
VII. Saving Your Circular Image:
A. Save As:
- Go to “File” > “Save As” to save your circular image as a new file.
- Choose the desired file format and save location.
B. Save for Web (Optional):
- For online use, select “File” > “Export” > “Save for Web (Legacy).”
- Adjust settings and save your circular image optimized for the web.
VIII. Additional Tips and Tricks:
A. Adding Backgrounds:
- Place the circular image on a new background layer for enhanced visual impact.
- Experiment with different backgrounds to complement your design.
B. Creating Multiple Circles:
- Duplicate the circular image layer to create variations.
- Experiment with different sizes, positions, or blending modes for a dynamic composition.
IX. Conclusion: Unlocking Creative Potential
In conclusion, the ability to crop images into a circle shape with Photoshop is a valuable skill that opens up a world of creative possibilities. This comprehensive guide has equipped you with the step-by-step process, from selecting the Elliptical Marquee Tool to refining edges and saving your masterpiece. As you integrate this technique into your design toolkit, don’t hesitate to explore variations, experiment with different elements, and let your creativity flourish. Whether you’re crafting social media visuals, web graphics, or artistic compositions, mastering the art of cropping images into circles empowers you to bring a unique and visually appealing touch to your designs.