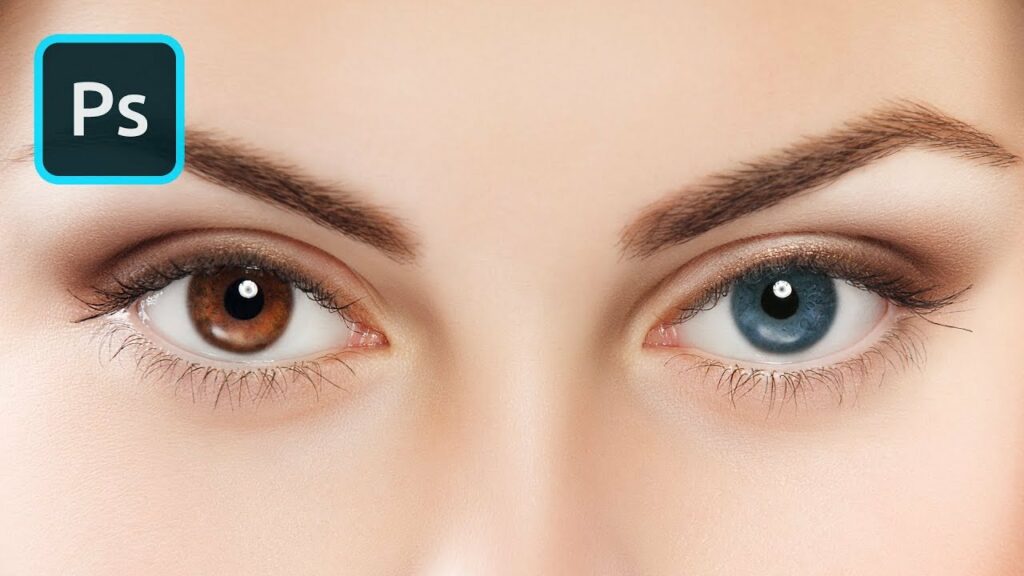
Mastering the Art of Digital Transformation: A Comprehensive Guide on How to Change Eye Color in Photoshop

Introduction:
In the realm of digital creativity, Photoshop stands as a powerful tool, offering endless possibilities for enhancing and transforming images. One captivating alteration that Photoshop allows is the ability to change eye color effortlessly. Whether you’re seeking to experiment with a new look, create artistic portraits, or simply add a touch of fantasy to your photos, this comprehensive guide will walk you through the step-by-step process of changing eye color in Photoshop, unlocking the potential for artistic expression and visual storytelling.
Understanding the Basics:
Before diving into the intricate steps of changing eye color in Photoshop, it’s crucial to familiarize yourself with some basic concepts:
- Adobe Photoshop: Photoshop is a leading graphic design and photo editing software developed by Adobe. Its versatile tools and features empower users to manipulate images, correct imperfections, and unleash their creative visions.
- Layers and Masks: The concept of layers is fundamental to Photoshop. Understanding how to work with layers and masks is essential for non-destructive editing, allowing you to make changes without altering the original image.
- Selection Tools: Selection tools, such as the Magic Wand, Lasso, and Brush tools, enable you to isolate specific areas for editing. Mastery of these tools enhances your precision and control during the eye color-changing process.
- Hue/Saturation Adjustment Layer: The Hue/Saturation adjustment layer is a powerful tool in Photoshop for altering colors. It allows you to modify the hue, saturation, and lightness of selected portions of an image, making it ideal for changing eye color.
Now, let’s embark on the step-by-step journey of changing eye color in Photoshop:
Step 1: Open Your Image in Photoshop
a. Launch Photoshop and open the image you want to work on by navigating to “File” > “Open” and selecting the desired file.
Step 2: Duplicate the Background Layer
a. In the Layers panel, right-click on the Background layer and choose “Duplicate Layer.” This ensures you’re working on a copy, preserving the original image.
Step 3: Make a Selection Around the Eyes
a. Utilize the preferred selection tool (e.g., Elliptical Marquee Tool or Lasso Tool) to carefully select the area around the eyes. Ensure the selection is precise, covering both eyes entirely.
Step 4: Add a Hue/Saturation Adjustment Layer
a. Click on the “New Adjustment Layer” icon at the bottom of the Layers panel and select “Hue/Saturation.”
b. Ensure the adjustment layer is clipped to the eye area by right-clicking on the adjustment layer and choosing “Create Clipping Mask.”
Step 5: Adjust Hue, Saturation, and Lightness
a. Slide the “Hue” slider to shift the color spectrum and choose the desired eye color. Experiment with different hues until you achieve the desired effect.
b. Adjust the “Saturation” slider to control the intensity of the new eye color. Be mindful not to over-saturate, maintaining a natural appearance.
c. Fine-tune the “Lightness” slider to match the brightness of the new eye color with the overall image. This step ensures a seamless integration.
Step 6: Refine the Selection with Masks
a. Click on the mask thumbnail of the adjustment layer.
b. Use the Brush Tool with a soft brush and black color to refine the mask. Painting with black conceals the effect, allowing you to clean up any spillage onto surrounding areas.
Step 7: Add Realism with Layer Styles (Optional)
a. To enhance realism, you can add layer styles to simulate reflections and highlights in the eyes.
b. Double-click on the adjustment layer to open the Layer Style window. Experiment with options like Inner Glow, Outer Glow, or Bevel and Emboss to add subtle details.
Step 8: Final Touches and Export
a. Fine-tune the overall image, ensuring cohesion between the edited eyes and the rest of the photo.
b. Once satisfied, save your work by navigating to “File” > “Save As” or “Export” to preserve the changes in your preferred format.
Advanced Tips for Precision:
- Zoom In for Precision: When making selections or painting masks, zoom in on the eyes for a closer view. This enhances precision and allows you to catch intricate details.
- Adjustment Layer Opacity: If the eye color change appears too intense, adjust the opacity of the Hue/Saturation adjustment layer to create a subtle effect.
- Experiment with Blend Modes: Explore different blend modes for the Hue/Saturation adjustment layer to achieve unique effects. Overlay and Soft Light often produce natural-looking results.
- Use a Graphics Tablet: For intricate detailing and precise brushwork, consider using a graphics tablet. It provides a level of control that is challenging to achieve with a mouse.
Conclusion:
Changing eye color in Photoshop is a skill that adds a touch of magic to your digital toolbox. By understanding the fundamental tools and techniques outlined in this comprehensive guide, you can embark on a journey of creative exploration and artistic expression. Remember, practice is key to mastering any skill, so don’t hesitate to experiment with various colors, styles, and effects to discover the endless possibilities that Photoshop offers. As you hone your digital artistry, you’ll find yourself effortlessly bringing your creative visions to life, one eye color transformation at a time.


