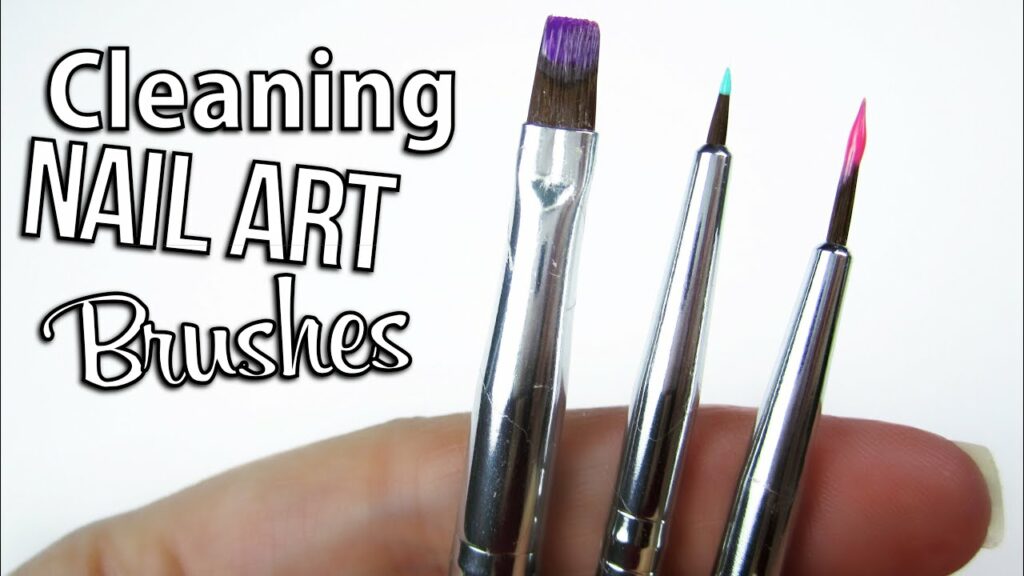
The Art of Clean: A Comprehensive Guide to Nail Art Brush Maintenance
Nail art, with its dazzling designs and intricate details, is a true canvas for the fingertips. But just like any artistic endeavor, maintaining your tools is crucial for optimal results. And when it comes to nail art, the humble brush reigns supreme. So, how do we ensure these delicate instruments stay pristine and ready to dance across the nail canvas? Fear not, fellow nail enthusiasts, for this comprehensive guide will delve into the art of cleaning your nail art brushes, leaving them squeaky clean and ready to conquer your next masterpiece.
The Cleansing Arsenal:
Before we embark on our brush-cleansing odyssey, let’s gather our trusty allies:
- Nail Polish Remover: The classic choice, effective for most polish types. Opt for acetone-free removers if your brushes are delicate or prone to drying out.
- Brush Cleanser: Specially formulated for nail art brushes, these cleansers often contain nourishing oils to preserve bristles and prevent stiffness.
- Cotton Pads: Lint-free and absorbent, these are your gentle warriors against polish residue.
- Paper Towels: For quick wipes and absorbency.
- Warm Water: A simple yet effective tool for rinsing away cleanser or remover residue.
- Brush Comb or Tool: These handy gadgets help detangle and straighten bristles after cleaning.
The Cleansing Ritual:
Now, with our arsenal assembled, let’s begin the sacred ritual of brush cleansing:
1. Wipe Away the Excess: Immediately after use, while the polish is still wet, grab a cotton pad soaked in nail polish remover or brush cleanser. Gently wipe the bristles, removing as much polish as possible. Remember to work in the direction of the bristles to avoid splaying them.
2. Deep Cleanse: For stubborn polish or glitter, a deeper cleanse is necessary. Dip the brush into a small dish of nail polish remover or brush cleanser, swirling it around to loosen any remaining residue. Be gentle with delicate brushes, and avoid soaking them for extended periods.
3. Rinse and Repeat: Rinse the brush thoroughly under warm water to remove any cleanser or remover residue. You can repeat steps 2 and 3 if necessary, especially for heavily stained brushes.
4. Shape and Reshape: Gently squeeze the bristles between your fingers to reshape them to their original form. Use a brush comb or tool to detangle any stubborn clumps.
5. Air Dry with Love: Lay the brush flat on a paper towel or brush holder, ensuring the bristles are not touching any surface. Avoid direct sunlight or heat sources, as they can damage the bristles.
Beyond the Basics:
For specific polish types, special cleaning considerations may apply:
- Gel Polish: Use pure acetone or a gel polish cleanser to remove residue. Be mindful of soaking times, as prolonged exposure to acetone can weaken the bristles.
- Acrylic Paint: Warm soapy water works wonders for acrylics. Rinse thoroughly and reshape the bristles as usual.
Brush TLC:
To extend the life of your brushes, follow these additional tips:
- Clean them regularly, ideally after each use.
- Store them properly in a brush holder or pouch, with bristles facing upwards.
- Avoid using harsh chemicals or scrubbing the bristles.
- Condition your brushes occasionally with a drop of cuticle oil to prevent dryness and brittleness.
The Joy of a Clean Brush:
By diligently following these steps, you’ll not only extend the life of your nail art brushes but also ensure optimal performance with each use. A clean brush glides effortlessly across the nail, leaving behind crisp lines and vibrant colors. It’s a joy to behold, a testament to your dedication to the art, and a promise of countless future masterpieces waiting to be born. So, embrace the ritual of brush cleansing, for it is a gateway to endless creative possibilities on the canvas of your fingertips.
Remember, clean brushes are happy brushes, and happy brushes paint the most dazzling nail art stories. So, grab your cleansing arsenal, channel your inner brush whisperer, and let the art of clean begin!


