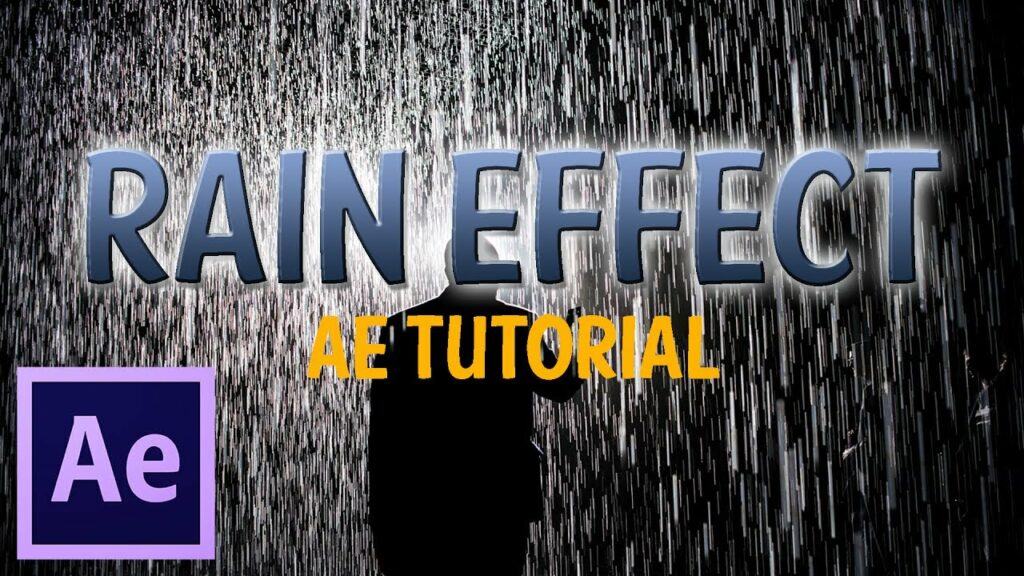
Mastering Visual Effects: A Comprehensive Guide to Creating a Rain Effect in Adobe After Effects

Introduction: Rain is a powerful visual element that can add mood, atmosphere, and drama to video projects, whether it’s a cinematic scene, a music video, or a motion graphics animation. Adobe After Effects offers versatile tools and techniques for creating realistic and customizable rain effects that enhance the visual storytelling and immerse viewers in the scene. In this comprehensive guide, we will explore the step-by-step process of creating a rain effect in Adobe After Effects, from generating raindrops to animating rainfall for maximum impact.
Understanding Rain Effects: Rain effects in After Effects typically involve the creation of individual raindrop particles and the simulation of their behavior as they fall through the scene. By generating and animating these raindrop particles, designers and animators can create a convincing illusion of rainfall that interacts with the environment and characters in the scene. After Effects offers several methods for creating rain effects, including particle systems, simulations, and compositing techniques.
Step 1: Setting Up the Project Before creating the rain effect, start by setting up the project in After Effects. Create a new composition with the desired dimensions, frame rate, and duration for your scene. Import any background footage or images you plan to use in the composition and arrange them in the timeline. Consider the mood, lighting, and atmosphere of the scene to determine the style and intensity of the rain effect.
Step 2: Generating Raindrop Particles To create raindrop particles in After Effects, use a particle system such as Particle World or CC Particle Systems II. Apply the particle system to a new solid layer in the composition and adjust the settings to generate raindrop particles. Customize parameters such as particle size, velocity, lifespan, and emission rate to control the appearance and behavior of the raindrops. Experiment with different settings to achieve the desired density and distribution of raindrops in the scene.
Step 3: Adding Realism with Motion Blur To enhance the realism of the rain effect, enable motion blur for the raindrop particles. Motion blur simulates the blur effect caused by the rapid movement of objects in a scene, adding a sense of speed and dynamics to the raindrops as they fall through the air. Enable motion blur for the particle system and adjust the settings to control the amount and quality of motion blur applied to the raindrop particles.
Step 4: Adjusting Particle Behavior To create a more natural and realistic rain effect, adjust the behavior of the raindrop particles to simulate the physics of rainfall. Experiment with parameters such as gravity, wind, and turbulence to control the motion and trajectory of the raindrops. Consider factors such as wind direction, velocity, and intensity to simulate the interaction between the raindrops and the environment. Fine-tune the settings to achieve the desired visual effect, from gentle drizzle to heavy downpour.
Step 5: Compositing Rain Effect with Background Once you’ve generated the raindrop particles, composite them with the background footage or image in the composition. Use blending modes such as Screen or Add to overlay the rain effect onto the background, allowing the raindrops to interact realistically with the scene. Adjust the opacity and color of the rain effect to match the lighting and atmosphere of the scene, creating a seamless integration between the rain and the environment.
Step 6: Adding Depth with Foreground Elements To enhance the depth and immersion of the rain effect, consider adding foreground elements such as rain-soaked surfaces, water splashes, or raindrops hitting the camera lens. Use additional layers, masks, and effects to create these elements and composite them with the rain effect and background. Experiment with depth of field, focus, and parallax to create a sense of perspective and depth in the scene, adding visual interest and realism to the rain effect.
Step 7: Fine-Tuning and Previewing As you work on your rain effect, preview it regularly to assess its visual impact and quality. Play through the animation in real-time, making note of any areas that may need further refinement or adjustment. Pay attention to details such as particle density, motion dynamics, and compositing integration to ensure a convincing and immersive rain effect. Make adjustments as needed to achieve the desired look and feel for your scene.
Step 8: Rendering and Exporting Once you’re satisfied with your rain effect animation, it’s time to render and export the composition for use in your video projects. In After Effects, select “Composition” > “Add to Render Queue” to add the composition to the render queue. Configure the render settings, such as output format, resolution, and codec options, and click “Render” to export the final video with the rain effect applied.
Conclusion: Creating a rain effect in Adobe After Effects offers a versatile and powerful tool for enhancing the visual storytelling and atmosphere of video projects. By mastering the fundamentals of particle systems, compositing techniques, and animation principles, you can unleash your creativity and bring your scenes to life with realistic and immersive rainfall. Whether used for adding drama to a cinematic sequence, setting the mood in a music video, or enhancing the ambiance of a motion graphics animation, rain effects offer endless possibilities for visual storytelling and creative expression. Experiment with different settings, techniques, and styles to create rain effects that captivate and immerse viewers, bringing depth, emotion, and atmosphere to your video projects.


