A Comprehensive Guide: How to Install AutoCAD on Your Computer
AutoCAD, developed and marketed by Autodesk, is one of the most widely used computer-aided design (CAD) software applications in the world. Whether you’re an architect, engineer, designer, or drafter, AutoCAD provides powerful tools for creating precise and detailed drawings and models. If you’re looking to harness the power of AutoCAD for your projects, the first step is to install the software on your computer. In this comprehensive guide, we’ll walk you through the step-by-step process of installing AutoCAD on your computer, ensuring a smooth and hassle-free installation experience.
Step 1: Check System Requirements
Before you begin the installation process, it’s essential to ensure that your computer meets the minimum system requirements for running AutoCAD. These requirements typically include specifications such as processor speed, RAM, disk space, and graphics card compatibility. You can find detailed system requirements for the latest version of AutoCAD on Autodesk’s website or in the software documentation.
Step 2: Obtain the Installation Media
Once you’ve confirmed that your computer meets the system requirements, the next step is to obtain the installation media for AutoCAD. Depending on your purchase or subscription plan, you may have received a physical installation disc, or you may need to download the software from Autodesk’s website. If you’re downloading the software, be sure to choose the correct version and edition of AutoCAD that corresponds to your license or subscription.
Step 3: Prepare Your Computer
Before you begin the installation process, it’s a good idea to prepare your computer by closing any unnecessary programs and temporarily disabling any antivirus or security software that may interfere with the installation. You should also ensure that your computer is connected to a stable internet connection to download any necessary updates during the installation process.
Step 4: Run the Installer
Once you have the installation media ready, insert the installation disc into your computer’s disc drive or double-click the downloaded installation file to launch the AutoCAD installer. You may be prompted to enter your Autodesk account credentials or product key to begin the installation process.
Step 5: Customize Installation Settings
During the installation process, you’ll have the option to customize various settings to tailor the installation to your preferences. These settings may include choosing the installation directory, selecting which components or features to install, and configuring any additional options such as language settings or license agreements. Take the time to review and adjust these settings according to your needs before proceeding with the installation.
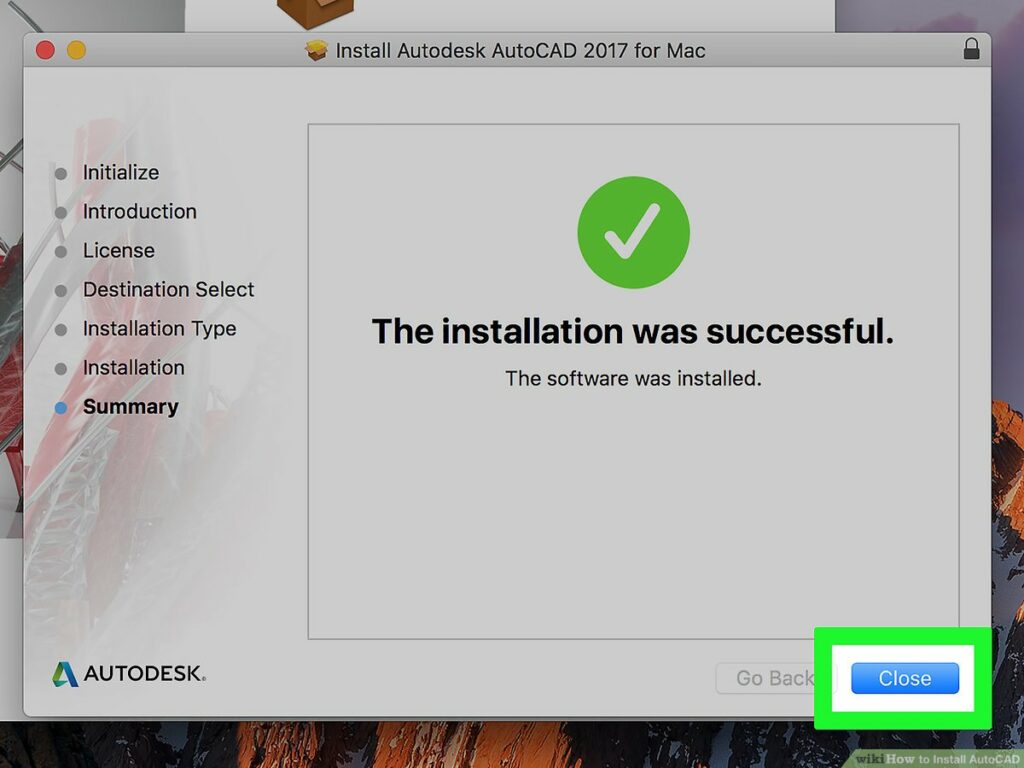
Step 6: Install AutoCAD
Once you’ve customized the installation settings, click the “Install” or “Proceed” button to begin installing AutoCAD on your computer. The installation process may take some time to complete, depending on your computer’s specifications and the selected installation options. Be patient and allow the installer to finish installing all necessary files and components.
Step 7: Activate Your License
After the installation is complete, you may need to activate your AutoCAD license to unlock the full functionality of the software. If you purchased a perpetual license, you may need to enter your product key or serial number to activate the software. If you’re using a subscription-based license, you may need to sign in to your Autodesk account to activate the software.
Step 8: Update and Configure AutoCAD
Once AutoCAD is installed and activated, it’s a good idea to check for any available updates or patches to ensure that you have the latest version of the software. You can usually find updates and patches through the Autodesk Desktop App or by visiting the Autodesk website. Additionally, take some time to configure AutoCAD’s settings and preferences to optimize the software for your workflow and usage habits.
Step 9: Start Using AutoCAD
Congratulations! You’ve successfully installed AutoCAD on your computer. Now it’s time to start exploring the software and familiarizing yourself with its features and capabilities. Whether you’re creating 2D drawings, 3D models, or architectural plans, AutoCAD provides powerful tools and resources to help you bring your ideas to life with precision and efficiency.
In conclusion, installing AutoCAD on your computer is a straightforward process that can be completed in just a few simple steps. By following this comprehensive guide, you can ensure a smooth and hassle-free installation experience, allowing you to unleash the full potential of AutoCAD for your projects and designs.