How to use Windows Memory Diagnostic in Windows 8
Windows Memory Diagnostic is a built-in tool in Windows 8 designed to help users diagnose and troubleshoot memory-related problems on their computer. Memory issues can lead to system instability, crashes, and data corruption, making it essential to identify and resolve any issues promptly. Windows Memory Diagnostic provides a simple yet effective way to test your computer’s RAM (Random Access Memory) for errors and determine if faulty memory modules are causing system problems. In this comprehensive guide, we’ll explore everything you need to know about using Windows Memory Diagnostic in Windows 8, from accessing the tool to interpreting test results and troubleshooting memory issues effectively.
Accessing Windows Memory Diagnostic:
To access Windows Memory Diagnostic in Windows 8, follow these steps:
- Open Windows Memory Diagnostic: Press the Windows key to open the Start menu, then type “Windows Memory Diagnostic” in the search bar. Click or tap on “Windows Memory Diagnostic” in the search results to launch the tool.
- Alternatively, Access via Control Panel: You can also access Windows Memory Diagnostic through the Control Panel. Open the Control Panel by pressing the Windows key to open the Start menu, then typing “Control Panel” and selecting it from the search results. In the Control Panel, navigate to “System and Security” > “Administrative Tools” > “Windows Memory Diagnostic.”
Running Memory Tests:
Once you’ve launched Windows Memory Diagnostic, follow these steps to run memory tests:
- Choose Test Type: Windows Memory Diagnostic offers two test options: “Basic” and “Standard.” The Basic test performs a series of less extensive tests, while the Standard test performs a more thorough examination of your system’s memory. Select the desired test type and press Enter to start the test.
- Restart Computer: Windows Memory Diagnostic will prompt you to restart your computer to begin the memory tests. Save any unsaved work and click or tap on “Restart now and check for problems (recommended)” to reboot your system and initiate the memory tests.
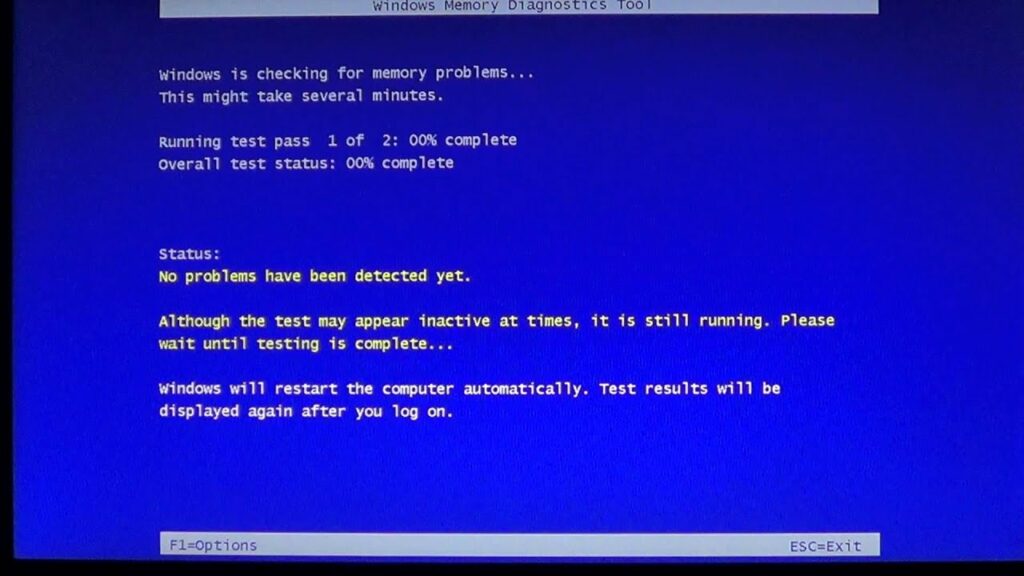
- Run Memory Tests: Upon restarting your computer, Windows Memory Diagnostic will automatically begin running the selected memory tests. The tests will run in the background, and you’ll see a progress indicator indicating the current test status.
- View Test Results: After completing the memory tests, Windows Memory Diagnostic will display the test results on your screen. You can view detailed information about any errors detected during the tests, including the type of error and the memory address affected.
Interpreting Test Results:
When reviewing test results in Windows Memory Diagnostic, consider the following:
- No Errors Detected: If Windows Memory Diagnostic reports that no errors were detected during the tests, it indicates that your system’s memory is functioning correctly, and there are no memory-related issues.
- Errors Detected: If Windows Memory Diagnostic detects errors during the tests, it indicates that there are issues with your computer’s memory. Pay attention to the type and frequency of errors reported, as well as the memory addresses affected.
- Next Steps: If errors are detected, you may need to replace faulty memory modules to resolve the issue. Consult your computer’s documentation or contact the manufacturer for guidance on replacing memory modules.
Troubleshooting Memory Issues:
If Windows Memory Diagnostic detects errors during the tests, consider the following troubleshooting steps:
- Reseat Memory Modules: Ensure that memory modules are properly seated in their slots on the motherboard. Remove and reinsert memory modules to ensure a secure connection.
- Test Individual Modules: If you have multiple memory modules installed, test each module individually to identify any faulty modules. Remove all but one memory module and run Windows Memory Diagnostic again. Repeat this process for each memory module until you identify the faulty module.
- Replace Faulty Memory: If Windows Memory Diagnostic consistently detects errors with a specific memory module, it may be necessary to replace the faulty module with a new one. Consult your computer’s documentation or contact the manufacturer for compatible replacement options.
- Check for BIOS Updates: Ensure that your computer’s BIOS firmware is up-to-date. Check the manufacturer’s website for BIOS updates and install any available updates to address memory-related issues.
Conclusion:
Windows Memory Diagnostic is a valuable tool for diagnosing and troubleshooting memory-related problems on your Windows 8 computer. By running memory tests and interpreting the results, users can identify faulty memory modules and take appropriate action to resolve memory issues. Whether you’re experiencing system crashes, errors, or instability, Windows Memory Diagnostic provides a reliable way to diagnose and address memory problems, ensuring optimal performance and stability of your computer. With its user-friendly interface and comprehensive testing capabilities, Windows Memory Diagnostic is an essential tool for maintaining the health and reliability of your Windows 8 system.