The Step-by-Step Guide to Permanently Eliminating Mold from the Walls and Ceilings of Your Bathroom at Home
The Step-by-Step Guide to Permanently Eliminating Mold from the Walls and Ceilings of Your Bathroom at Home
Mould in the bathroom is an issue that is not only prevalent but also difficult to eradicate. As a result of the presence of moisture, warmth, and inadequate ventilation in a single location, your bathroom becomes an ideal breeding ground for mold spores, particularly on the ceiling, walls, and even beneath tiles. Although a temporary cleaning might be helpful, if it is not handled correctly, it will most likely grow back.
The purpose of this article is to teach you how to eliminate mold from the walls and ceilings of your bathroom in a way that is permanent, as well as how to prevent it from coming back for good.
The Reasons Why Mould Reaches Bathrooms
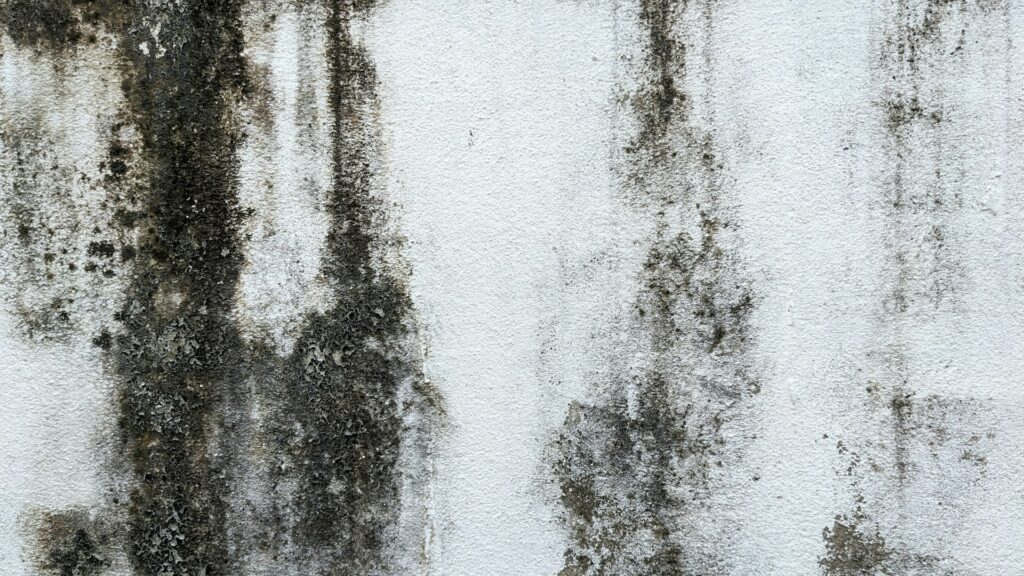
Showers and baths that are very hot tend to produce a high level of humidity in the bathroom. In the event that there is inadequate ventilation or concealed water leaks, mold spores may rapidly grow. Ceilings, corners, tile grout, and paint may all be affected by these spores, which manifest themselves as black, green, or grey spots.
The following are examples of common signs:
- With a musty odor
- stains on the walls or ceilings of the building
- Walls that are bubbled or paint that is peeling
- When inside, allergies or respiratory problems become more severe
- Mould may cause structural damage to your bathroom and possibly have an effect on your health if you ignore it.
The Correct Method for Eliminating Mould Step-by-Step
Protect Yourself First and Foremost
Before you begin cleaning, be sure you wear:
- gloves (plural)
- A mask for the face
- Defense of the eyes
Always take precautions to protect yourself against mold spores, since they have the potential to irritate both your lungs and your skin.
1. Combine an Effective Remedy for Eliminating Mould
It is not always necessary to use strong chemicals such as bleach, which may cause significant harm to surfaces and does not always eliminate the roots of mold. Instead, you should make use of one of these non-chemical and efficient solutions:
- Vinegar of White Color
- Pour vinegar that has not been diluted into a spray bottle.
- Spray it immediately on the moldy spots, and then wait at least an hour for it to take effect.
2. Three Percent Hydrogen Peroxide
- After spraying it over the afflicted areas, let it to foam for ten to fifteen minutes.
- Take a firm brush and scrub it off, then rinse it off.
- Baking soda and water paste is the third option.
- To remove the mold, make a thick paste and scrape it.
- Wash with warm water and rinse.
- Vinegar should be used after the hydrogen peroxide for mold that is deep. By no means should you combine them in a single container.
3. Scrub and wipe the surface. Completely and completely
In order to remove the mold spots completely, clean them with a firm brush or sponge. Make sure that you reach into the ceiling texturing, as well as the corners and crevices. To dry, use clean towels or cloths after rinsing the area.
Throw away any cloths that have been used; in order to prevent the spread of spores, do not wash them with your usual laundry.
4. Make sure the area is completely dry.
Mould thrives on high levels of moisture. In order to dry the area after cleaning it, you may either use a fan, open the windows, or use a dehumidifier. In order to hasten the drying process, it is recommended to either utilize a space heater or keep the exhaust fan running for a number of hours.
Seal and repaint (if necessary) the surface.
If the ceiling or walls of your bathroom were painted, there is a good probability that mold was concealed behind the paint. When washing and drying are complete:
- Paint that is peeling or bubbling should be scraped off.
- Apply a primer that is resistant to mold.
- Perform a repainting using paint that is resistant to mold or moisture.
- As a result, this helps to prevent mold from resurfacing through the layers of paint.
- Reduce the likelihood of mold coming back permanently.
Getting rid of mold is just half the fight; the true victory lies in preventing it from returning in the future.
In this manner:
Enhance the Ventilation System
Upgrade or install an exhaust fan in your home.
- Showers should be taken with the windows open.
- Utilize a dehumidifier in restrooms that do not have any ventilation.
- Make sure the surfaces are dry.
Immediately after a shower, clean the walls and tiles. - Remove wet bathmats and towels from the bathroom and dry them outdoors.
- Make sure that there is no standing water on the floor.
Use Products That Are Anti-Mold
Twice a week, spray vinegar in places that are prone to humidity or corners.
- While you are cleaning the tile grout, add baking soda to it.
- As a natural mold preventive that may be used once a week, try using tea tree oil spray (a few drops in water).
- Repair any leaks. Immediately
Faucets, pipelines, or toilet tanks that are leaking contribute moisture that is not visible. - Any flaws that might allow water to infiltrate into the walls or ceilings should be sealed.
Remarks to Conclude
The presence of mold in a bathroom is not only an aesthetic issue; rather, it is an indication that the area is not breathing correctly. However, if you take the appropriate steps, you may eliminate mold in a way that is irreversible and create an atmosphere that is healthier and cleaner.
Instead of seeing mold prevention as a one-time effort, think of it as a habit. Mould is unable to flourish in a bathroom that is dry and has enough ventilation.