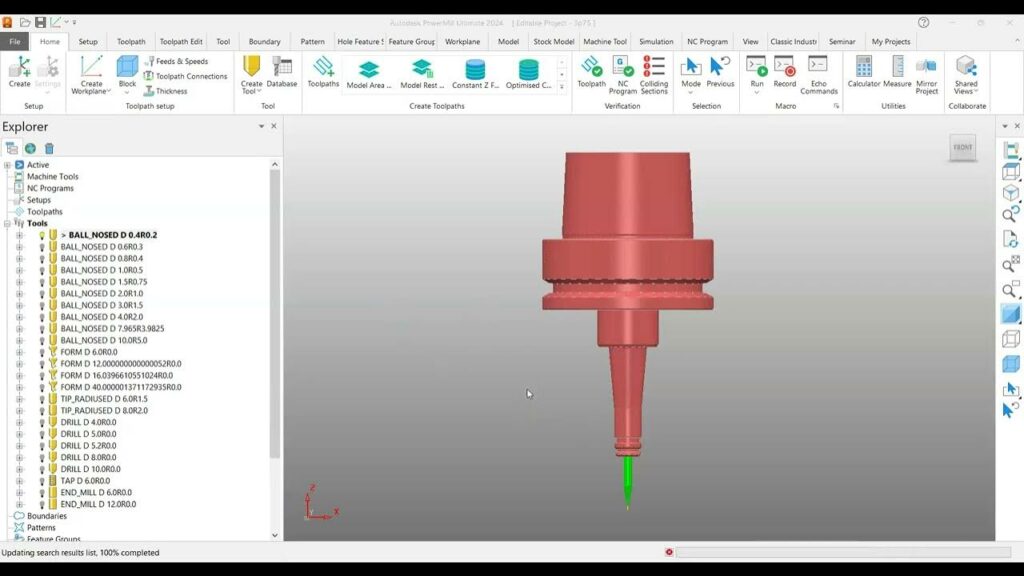
Mastering Project Setup: A Comprehensive Guide to Creating a New Project in PowerMill Ultimate

Creating a new project in Autodesk PowerMill Ultimate is the crucial initial step in the process of generating toolpaths for CNC machining. PowerMill Ultimate is renowned for its advanced capabilities in CAM (Computer-Aided Manufacturing), providing users with a comprehensive suite of tools for efficient and precise machining operations. In this detailed guide, we will explore the step-by-step process of creating a new project in PowerMill Ultimate, from setting up project parameters to organizing project files and preferences.
1. Launching PowerMill Ultimate:
- Open the PowerMill Ultimate software on your computer by double-clicking on the desktop shortcut or accessing it from the Start menu.
2. Setting Project Parameters:
- Upon launching PowerMill Ultimate, you will be prompted to create a new project. Begin by defining the project parameters, including project name, location, and units (metric or imperial).
3. Selecting Machine Configuration:
- Choose the appropriate machine configuration for your project from the list of predefined machine tools available in PowerMill Ultimate. Selecting the correct machine configuration ensures compatibility and accuracy in toolpath generation.
4. Defining Workpiece Geometry:
- Specify the workpiece geometry by importing CAD models or defining primitive shapes such as cubes, cylinders, or planes. Workpiece geometry serves as the basis for creating toolpaths and simulating machining operations.
5. Setting Stock Material:
- Define the stock material for your project, specifying the type of material (e.g., aluminum, steel, plastic) and its dimensions. Accurate stock material definition is essential for generating toolpaths that account for material removal during machining.
6. Configuring Machining Strategy:
- Choose the desired machining strategy for your project, such as roughing, finishing, or drilling. Select appropriate cutting tools and machining parameters based on the requirements of your design and manufacturing process.
7. Organizing Project Files:
- Organize project files and folders within PowerMill Ultimate to streamline workflow and facilitate collaboration. Create folders for storing CAD models, tool libraries, toolpaths, and simulation results, ensuring easy access and management of project assets.
8. Customizing Preferences:
- Customize preferences and settings within PowerMill Ultimate to align with your workflow preferences and project requirements. Adjust display settings, toolpath parameters, simulation options, and user interface layout to optimize productivity and usability.
9. Saving and Naming Project:
- Once all project parameters are defined and configured, save the project by selecting the “Save Project” option from the File menu. Choose a descriptive name for the project file and specify the location where it will be saved on your computer.
10. Accessing Project Workspace:
- Upon saving the project, you will be directed to the project workspace within PowerMill Ultimate. Here, you can access and navigate project files, view and edit toolpaths, simulate machining operations, and generate G-code for CNC machines.
Conclusion:
- Creating a new project in Autodesk PowerMill Ultimate is a fundamental step in the process of generating toolpaths for CNC machining.
- By following the step-by-step guide outlined above, users can efficiently set up project parameters, define machining strategies, organize project files, and customize preferences to streamline workflow and achieve optimal results in PowerMill Ultimate.
- Embrace the capabilities of PowerMill Ultimate to unleash your creativity and precision in CNC machining, and embark on a journey of innovation and excellence in manufacturing.


