How to paint a room
Painting a room can be a rewarding DIY project that transforms the look and feel of your space. While it might seem daunting, with proper planning and preparation, you can achieve professional-looking results. Let’s dive into the process step-by-step.
Preparation is Key
Gather Your Supplies
Before you start, ensure you have all the necessary materials:
- Paint: Choose the right type and color based on your room’s function and desired atmosphere.
- Primer: Essential for covering stains or uneven surfaces.
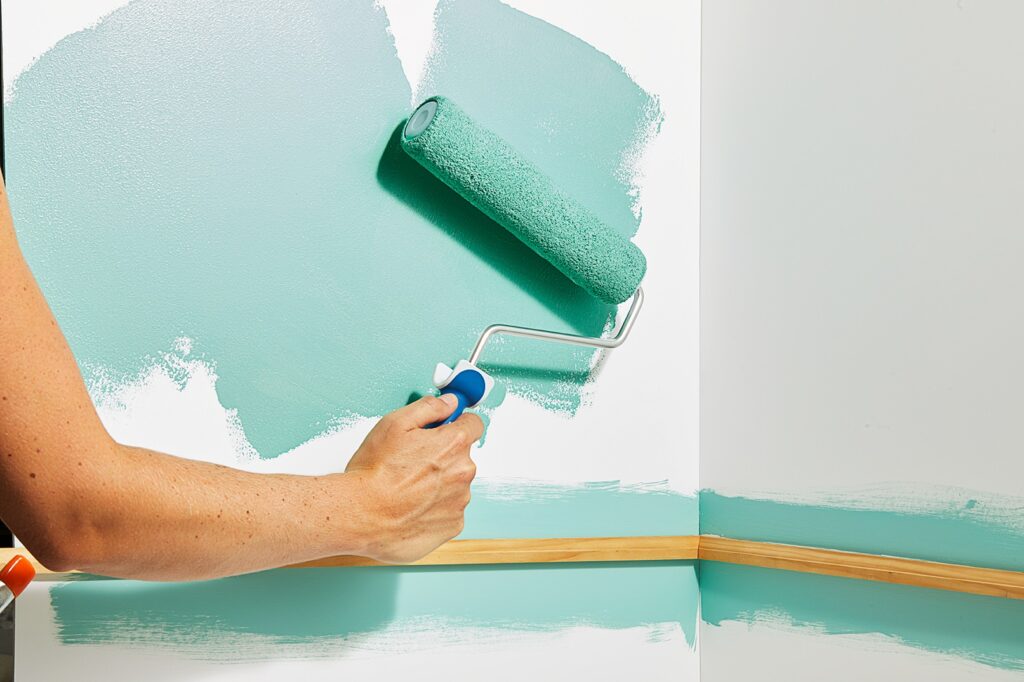
- Paint rollers and covers: Different sizes for walls and ceilings.
- Paint brushes: For cutting in edges and corners.
- Paint trays and liners: For holding and pouring paint.
- Drop cloths or plastic sheeting: To protect floors and furniture.
- Painter’s tape: For masking off trim and edges.
- Sandpaper: For smoothing surfaces.
- Putty knife: For filling holes and cracks.
- Cleaning supplies: For washing walls and removing dirt.
Clear the Room
Remove as much furniture as possible. For larger items, cover them with drop cloths.
Surface Preparation
This is a crucial step for a smooth finish:
- Wash the walls: Remove dirt, grease, and grime with a mild detergent and water.
- Repair damage: Fill holes and cracks with spackle or patching compound. Sand the patched areas smooth.
- Prime the walls: Apply a coat of primer to ensure even paint coverage and adhesion.
Painting the Room
Protect Your Space
Lay down drop cloths to protect floors and furniture. Use painter’s tape to mask off trim, windows, and doors.
Start with the Ceiling
- Cut in edges: Use a paintbrush to paint a few inches along the ceiling edges.
- Roll the ceiling: Use a roller to cover the main area of the ceiling. Work in wet edges to avoid lap marks.
Paint the Walls
- Cut in edges: Use a paintbrush to paint along the ceiling, baseboards, and corners.
- Roll the walls: Use a roller to cover the wall area. Work in wet edges for a seamless finish.
- Apply second coat: If necessary, apply a second coat after the first coat has dried.
Paint Trim (Optional)
If you’re changing the trim color, paint it last for a clean finish.
Cleaning Up
- Remove painter’s tape: Do this while the paint is still wet to avoid peeling off paint.
- Clean brushes and rollers: Wash them thoroughly with warm water and soap.
- Dispose of paint properly: Check local regulations for disposal guidelines.
Additional Tips
- Ventilation: Ensure proper ventilation while painting.
- Paint consistency: Stir the paint regularly to maintain a consistent color.
- Roller naps: Choose the right roller nap size for your paint type and surface texture.
- Brush care: Clean brushes immediately after use to prevent hardening.
- Patience: Allow sufficient drying time between coats.
Common Painting Mistakes to Avoid
- Skipping preparation: Proper preparation is essential for a flawless finish.
- Overloading the brush or roller: Excess paint can cause drips and runs.
- Not cutting in properly: Sloppy edges can ruin the overall look.
- Ignoring ventilation: Poor ventilation can lead to paint fumes and health issues.
- Rushing the job: Allow sufficient drying time between coats.
By following these steps and tips, you can successfully paint your room and achieve a beautiful transformation.