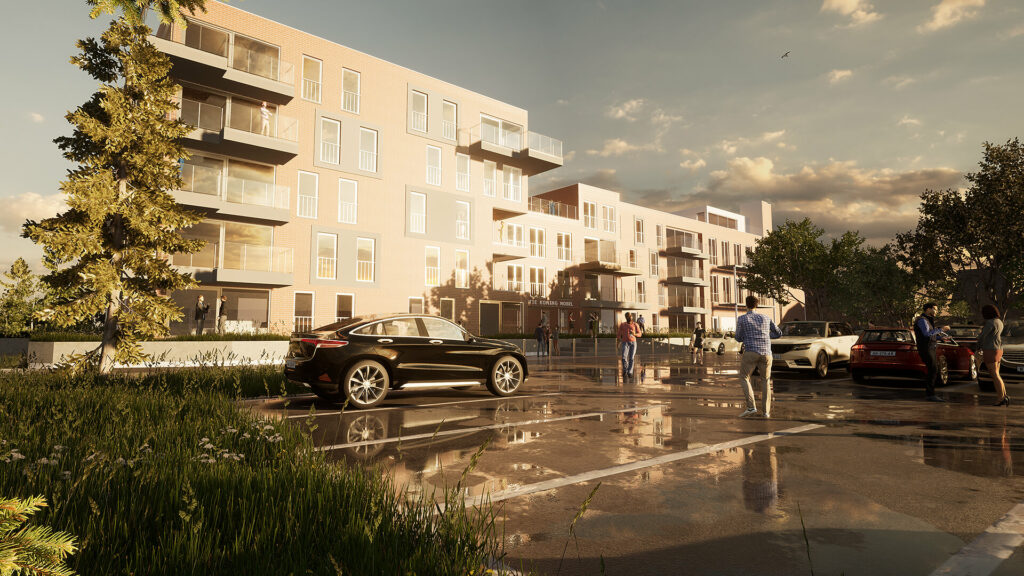
How to Use Rendering and Visualization Tools in BricsCAD

Introduction to Rendering and Visualization in BricsCAD
Rendering and visualization are essential aspects of CAD software, enabling designers, architects, and engineers to create realistic representations of their designs for presentation, analysis, and communication purposes. BricsCAD offers a range of powerful tools and capabilities for rendering and visualization, allowing users to transform their 3D models into compelling visualizations with realistic materials, lighting, and environments. This article provides a comprehensive guide on how to effectively utilize rendering and visualization tools in BricsCAD.
Understanding Rendering and Visualization Concepts
1. What is Rendering?
Rendering involves generating a photorealistic image or animation from a 3D model by simulating light interactions, textures, and materials. Key concepts include:
- Materials: Assigning realistic properties (e.g., color, texture, reflectivity) to surfaces of 3D objects.
- Lighting: Placing light sources and adjusting their intensity, color, and position to illuminate the scene realistically.
- Environment: Adding backgrounds, skies, and environments to enhance realism and context.
2. Benefits of Rendering and Visualization
- Presentation: Create high-quality images and animations for client presentations and marketing materials.
- Analysis: Evaluate designs with realistic visualizations to identify issues or improvements.
- Communication: Communicate design intent effectively to stakeholders, clients, and collaborators.
- Marketing: Showcase designs in a visually appealing manner to attract clients and investors.
Getting Started with Rendering in BricsCAD
1. Setting Up for Rendering
Before starting rendering in BricsCAD, ensure your workspace and settings are optimized for visualization:
- Workspace: Use the 3D Modeling workspace or customize a workspace with rendering tools accessible.
- Materials Library: Familiarize yourself with BricsCAD’s material library or import custom materials for specific project requirements.
- Lighting and Environment: Configure lighting settings and add environmental elements (e.g., skies, backgrounds) to enhance rendering quality.
2. Applying Materials
a. Using Predefined Materials
BricsCAD provides a library of predefined materials that can be applied to 3D objects:
- Material Browser: Access the material browser to browse and select materials based on their appearance and properties.
- Applying Materials: Apply materials to surfaces of 3D objects using the MATERIAL command or directly from the properties palette.
b. Customizing Materials
- Material Editor: Use the material editor to customize predefined materials by adjusting parameters such as color, texture, reflectivity, and transparency.
- Creating Custom Materials: Create new materials by defining their properties and textures using images or procedural textures.
3. Setting Up Lighting
a. Types of Lights
BricsCAD offers various types of lights to illuminate your scene:
- Point Lights: Omnidirectional light source emitting light in all directions from a single point.
- Spotlights: Directional light source with a cone-shaped beam of light.
- Distant Lights: Simulates light sources at a great distance, providing uniform lighting across the scene.
- Area Lights: Emits light from a defined area, useful for creating soft shadows and realistic lighting effects.
b. Adjusting Light Properties
- Light Properties: Modify light properties such as intensity, color, falloff, and shadow settings using the light properties palette or command line options.
4. Environment Settings
- Backgrounds: Set background images or gradients to provide context and enhance the visual appeal of renderings.
- Skies: Use procedural skies or import HDR (High Dynamic Range) skies to simulate natural lighting conditions and atmospheric effects.
Rendering Techniques and Workflows
1. Basic Rendering
- Render Command: Use the RENDER command to initiate a rendering process based on current scene settings.
- Render Presets: Choose from predefined render presets (e.g., draft, presentation, photorealistic) to quickly adjust rendering quality and speed.
2. Advanced Rendering Options
- Ray Tracing: Enable ray tracing for higher-quality reflections, refractions, and shadows, producing more realistic renderings.
- Global Illumination: Use global illumination techniques (e.g., ambient occlusion, indirect lighting) to simulate realistic light interactions within the scene.
3. Post-Processing and Effects
- Image Editor: Enhance rendered images by adjusting brightness, contrast, color balance, and applying filters using BricsCAD’s integrated image editor.
- Depth of Field: Simulate camera effects such as depth of field to focus attention on specific areas of the rendering.
Presenting and Sharing Renderings
1. Generating Rendered Images and Animations
- Image Output: Save rendered images in formats such as JPEG, PNG, or BMP for use in presentations, reports, or marketing materials.
- Animation: Create animations by rendering sequences of images and assembling them into video files using external video editing software.
2. Collaboration and Feedback
- Sharing Renderings: Share rendered images and animations with clients, stakeholders, and collaborators via email, cloud storage, or presentation platforms.
- Feedback: Gather feedback on designs based on realistic visualizations to refine and improve project outcomes.
Integration with Other Workflows
1. BIM and Architectural Visualization
- BIM Integration: Use rendered images and animations to visualize architectural designs and communicate spatial relationships effectively.
- Presentation: Present BIM models with realistic materials, lighting, and environments to stakeholders for approval and decision-making.
2. Mechanical Design and Product Visualization
- Product Visualization: Render 3D mechanical designs with accurate materials and lighting to showcase product aesthetics and functionality.
- Marketing: Create marketing materials and product presentations using photorealistic renderings to attract potential customers.
Conclusion
Rendering and visualization tools in BricsCAD empower users to transform 3D models into stunning visual representations that enhance communication, decision-making, and project outcomes. By leveraging BricsCAD’s intuitive interface, extensive material library, and powerful rendering capabilities, designers, architects, and engineers can create compelling renderings and animations that showcase their designs with realism and sophistication.
In this article, we’ve explored the fundamentals of using rendering and visualization tools in BricsCAD, from setting up scenes and applying materials to advanced rendering techniques and presenting renderings effectively. Whether you’re new to rendering or looking to refine your visualization skills, BricsCAD provides the tools and flexibility to bring your designs to life in vivid detail.
Start exploring rendering and visualization in BricsCAD today to elevate your design presentations and make informed decisions with compelling visualizations!


