Mastering Hyperlinks in Microsoft Word: A Comprehensive Guide
Introduction: Hyperlinks are powerful tools for adding interactivity and connectivity to your Microsoft Word documents. Whether you’re creating a report, a presentation, or a brochure, mastering the art of inserting hyperlinks can enhance the functionality and accessibility of your content. In this comprehensive guide, we’ll explore the techniques, tips, and tricks for inserting hyperlinks in Microsoft Word like a pro. From basic hyperlink insertion to advanced customization options, this guide will equip you with the knowledge and skills to create dynamic and interactive documents that engage your audience and provide valuable resources.
Understanding Hyperlinks: Before we delve into the application process, let’s understand what hyperlinks are and how they function in Microsoft Word:
- What is a Hyperlink?
- A hyperlink is a clickable text or graphic element that, when clicked, navigates the user to another location, such as a website, a different document, or a specific location within the same document.
- Hyperlinks are commonly used to provide additional information, reference external resources, or facilitate navigation within a document.
- Types of Hyperlinks:
- Web Hyperlinks: These hyperlinks direct users to a specific webpage or website on the internet.
- Document Hyperlinks: These hyperlinks navigate users to a different location within the same document or to a different document.
- Email Hyperlinks: These hyperlinks open the user’s default email client and populate the recipient’s email address, subject, and body.
- Benefits of Using Hyperlinks:
- Accessibility: Hyperlinks make it easy for users to access additional information or external resources without leaving the document.
- Navigation: Hyperlinks allow users to navigate between different sections of a document or between different documents with ease.
- Interactivity: Hyperlinks add interactivity to your documents, enabling users to interact with the content and explore related resources.
- Reference: Hyperlinks provide a convenient way to reference sources, cite references, or link to supplementary materials.
Now that you understand the benefits of hyperlinks, let’s explore how to insert them in Microsoft Word.
Step-by-Step Guide to Inserting Hyperlinks: Follow these steps to insert hyperlinks in Microsoft Word:
- Open your Document:
- Launch Microsoft Word and open the document where you want to insert the hyperlink.
- Select Text or Graphic:
- Choose the text or graphic element that you want to turn into a hyperlink. This could be a word, a phrase, an image, or any other element within the document.
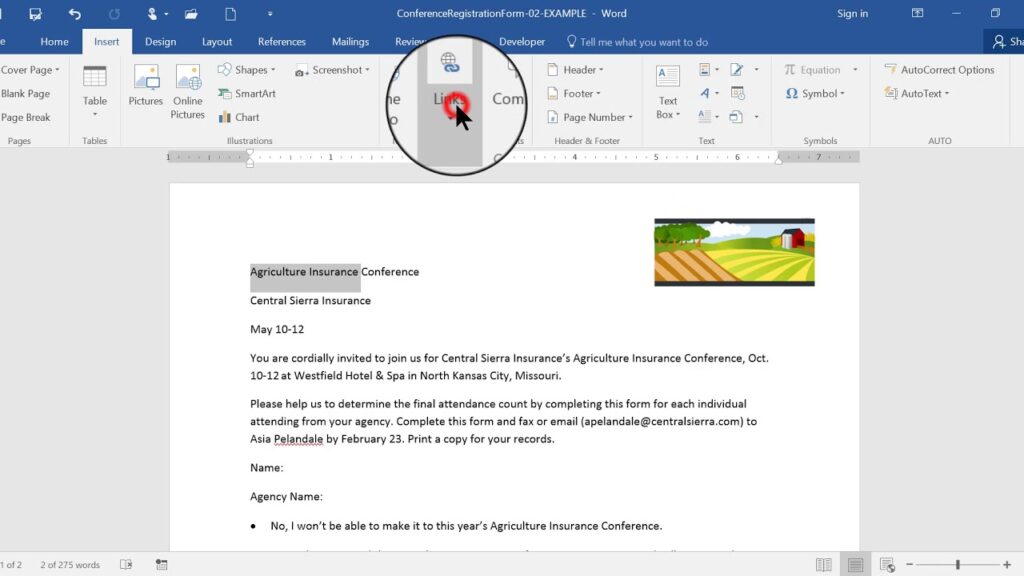
- Insert Hyperlink:
- Right-click on the selected text or graphic element to display the context menu.
- From the context menu, select the “Hyperlink” option to open the “Insert Hyperlink” dialog box.
- Alternatively, you can also use the keyboard shortcut “Ctrl + K” to open the “Insert Hyperlink” dialog box.
- Enter URL or Email Address:
- In the “Insert Hyperlink” dialog box, you’ll see two tabs: “Link to” and “Recently Used.”
- If you’re inserting a web hyperlink, select the “Existing File or Web Page” option under the “Link to” tab, and enter the URL of the webpage you want to link to in the “Address” field.
- If you’re inserting an email hyperlink, select the “Email Address” option under the “Link to” tab, and enter the recipient’s email address in the “Email address” field.
- Add ScreenTip (Optional):
- To provide additional context or information about the hyperlink, you can add a ScreenTip that appears when users hover over the hyperlink.
- Click on the “ScreenTip” button in the “Insert Hyperlink” dialog box, and enter the desired text in the “ScreenTip text” field.
- The ScreenTip can be helpful for explaining the purpose of the hyperlink or providing instructions to the user.
- Click “OK”:
- Once you’ve entered the URL or email address and, optionally, added a ScreenTip, click “OK” to insert the hyperlink into the selected text or graphic element.
- The text or graphic element will now be underlined and displayed in blue, indicating that it is a hyperlink.
- Test Hyperlink:
- To test the hyperlink, simply click on the linked text or graphic element. If you’ve inserted a web hyperlink, it will open the specified webpage in your default web browser. If you’ve inserted an email hyperlink, it will open your default email client with the recipient’s email address populated.
- Edit or Remove Hyperlink:
- To edit or remove a hyperlink, simply right-click on the linked text or graphic element and select the appropriate option from the context menu.
- You can edit the URL, email address, or ScreenTip in the “Edit Hyperlink” dialog box, or you can remove the hyperlink altogether by selecting the “Remove Hyperlink” option.
Tips for Creating Effective Hyperlinks: Here are some additional tips for creating effective hyperlinks in Microsoft Word:
- Use Descriptive Text:
- When creating hyperlinks, use descriptive text that clearly indicates the destination or purpose of the link.
- Avoid using generic phrases like “click here” or “read more,” and instead use specific, informative text that tells users what to expect when they click on the link.
- Format Consistently:
- Maintain consistent formatting for hyperlinks throughout your document, such as using the same font style, size, and color.
- This helps to ensure that hyperlinks are easily recognizable and distinguishable from regular text.
- Test Links Regularly:
- Before finalizing your document, test all hyperlinks to ensure that they are functioning correctly and directing users to the intended destination.
- Check web hyperlinks to ensure that the URLs are valid and that the webpages are loading properly.
- Provide Accessibility:
- Make sure that hyperlinks are accessible to all users, including those with disabilities or using assistive technologies.
- Use descriptive text for hyperlinks instead of relying solely on graphical elements or color coding to convey meaning.
- Be Mindful of Link Length:
- Keep hyperlinks concise and avoid lengthy URLs or email addresses that may clutter the document and make the links difficult to read.
- Consider using URL shorteners or hyperlinking descriptive text instead of displaying the full URL.
Conclusion: Hyperlinks are invaluable tools for adding interactivity, connectivity, and accessibility to your Microsoft Word documents. By following the step-by-step guide and implementing the tips and tricks provided in this comprehensive guide, you can create dynamic and interactive documents that engage your audience and provide valuable resources. Whether you’re linking to webpages, documents, or email addresses, mastering the art of hyperlinks will enhance the functionality and usability of your documents, making them more informative, engaging, and user-friendly. So, take advantage of the hyperlinking capabilities in Microsoft Word, unleash your creativity, and create documents that connect, inform, and inspire with confidence and flair.


