Mastering Audio Visualization: A Comprehensive Guide to Using the Audio Waveform Effect in Adobe After Effects
Introduction: The Audio Waveform effect in Adobe After Effects is a powerful tool for visualizing audio waveforms and creating dynamic motion graphics that synchronize with music or sound. By analyzing audio frequencies and amplitudes, the Audio Waveform effect generates a graphical representation of the audio waveform, allowing designers and animators to create stunning visualizations that enhance the rhythm, mood, and atmosphere of video projects. In this comprehensive guide, we will explore the step-by-step process of using the Audio Waveform effect in Adobe After Effects, from analyzing audio data to animating waveform graphics for maximum impact.
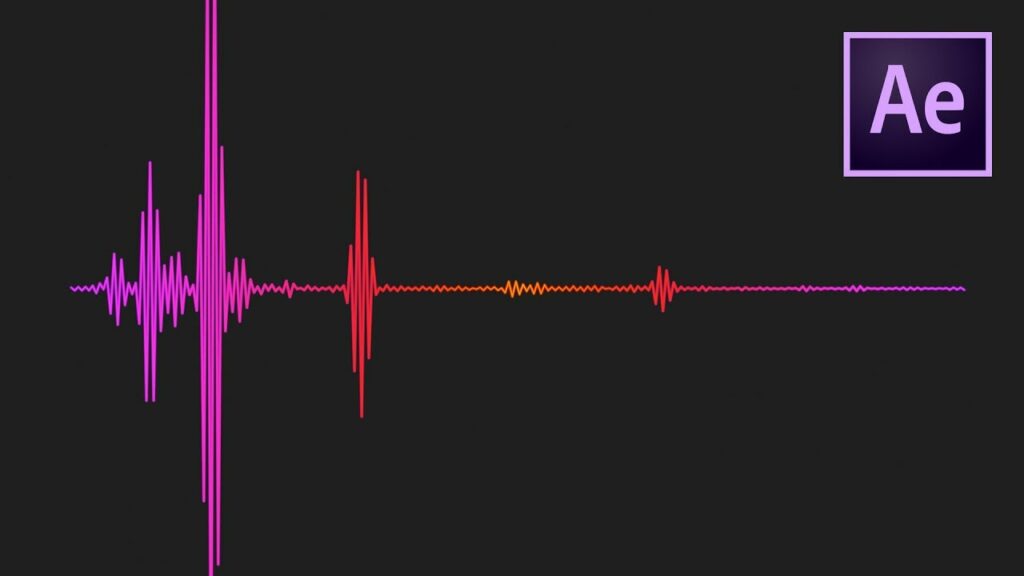
Understanding the Audio Waveform Effect: The Audio Waveform effect in After Effects analyzes audio input from a selected audio layer or audio file and generates a graphical representation of the audio waveform. This waveform visualization consists of dynamic peaks and valleys that correspond to the amplitude and frequency of the audio signal. By customizing parameters such as frequency range, amplitude scale, and waveform style, users can create a wide range of waveform visualizations that synchronize with the audio track.
Step 1: Importing Audio Before using the Audio Waveform effect, start by importing an audio file or audio track into your After Effects project. You can import audio files in various formats, including WAV, MP3, AIFF, and more. Drag the audio file from the project panel into the timeline or create a new audio layer and import the audio file into that layer. Ensure that the audio file is properly synchronized with your composition and positioned at the desired start time.
Step 2: Applying the Audio Waveform Effect To apply the Audio Waveform effect to an audio layer in After Effects, select the layer in the timeline and navigate to the Effects & Presets panel. Search for “Audio Waveform” in the effects browser and double-click on the effect or drag it onto the selected layer in the timeline. The Audio Waveform effect will be applied to the layer, and you will see a graphical representation of the audio waveform displayed in the composition panel.
Step 3: Adjusting Waveform Parameters Once the Audio Waveform effect is applied, you can customize its parameters to control the appearance and behavior of the waveform visualization. In the Effects Controls panel, you will find various parameters such as Frequency, Amplitude, Time, and Waveform Style. Experiment with different settings to adjust the frequency range, amplitude scale, time resolution, and visual style of the waveform. You can also customize colors, line thickness, and other visual properties to match the aesthetic of your project.
Step 4: Syncing to Audio To synchronize the waveform visualization with the audio track, adjust the Time parameter of the Audio Waveform effect. This parameter controls the time offset of the waveform animation relative to the audio track. You can manually keyframe the Time parameter to create dynamic waveform animations that sync with specific beats or sections of the audio track. Use the audio waveform as a visual cue to enhance the rhythm and tempo of your video project.
Step 5: Animating Waveform Graphics To create dynamic and expressive waveform animations, keyframe the parameters of the Audio Waveform effect over time. Experiment with animation techniques such as scaling, rotation, position, and opacity to animate the waveform graphics in sync with the audio track. You can also use expressions, scripts, or third-party plugins to automate waveform animations based on audio amplitude, frequency, or other audio parameters. Explore different animation styles and transitions to create visually captivating waveform visualizations that enhance the mood and atmosphere of your video project.
Step 6: Adding Visual Effects To further enhance the visual impact of the waveform visualization, consider adding additional visual effects and elements to the composition. Use effects such as Glow, Blur, Distortion, or Color Correction to add depth, texture, and visual interest to the waveform graphics. Experiment with blending modes, masks, and layer styles to integrate the waveform visualization seamlessly with other elements in the composition. Combine the Audio Waveform effect with other effects and techniques to create complex and dynamic audio visualizations that captivate and engage viewers.
Step 7: Fine-Tuning and Previewing As you work on your audio waveform visualization, preview it regularly to assess its visual impact and synchronization with the audio track. Play through the animation in real-time, making note of any areas that may need further refinement or adjustment. Pay attention to details such as waveform clarity, timing accuracy, and visual coherence to ensure a compelling and immersive audio visualization. Make adjustments as needed to achieve the desired look and feel for your project.
Step 8: Rendering and Exporting Once you’re satisfied with your audio waveform visualization, it’s time to render and export the composition for use in your video projects. In After Effects, select “Composition” > “Add to Render Queue” to add the composition to the render queue. Configure the render settings, such as output format, resolution, and codec options, and click “Render” to export the final video with the audio waveform visualization applied.
Conclusion: The Audio Waveform effect in Adobe After Effects offers a versatile and powerful tool for visualizing audio waveforms and creating dynamic motion graphics that synchronize with music or sound. By mastering the fundamentals of waveform analysis, parameter customization, and animation techniques, you can unleash your creativity and bring your audio visualizations to life with stunning and immersive waveform graphics. Whether used for enhancing music videos, title sequences, or motion graphics animations, audio waveform visualizations offer endless possibilities for visual storytelling and creative expression. Experiment with different settings, techniques, and styles to create audio visualizations that captivate and engage viewers, bringing rhythm, mood, and atmosphere to your video projects.


