Decoding Export: A Comprehensive Guide to Choosing Export Settings in DaVinci Resolve
Introduction:
Selecting the appropriate export settings is a critical step in the video editing process, as it directly impacts the quality, compatibility, and file size of the final output. DaVinci Resolve, a leading editing software known for its robust feature set, offers a plethora of export options and settings, allowing editors to tailor their exports to meet the specific requirements of their projects and distribution platforms. However, navigating the myriad of export settings can be daunting for both novice and experienced editors alike. In this comprehensive guide, we’ll unravel the intricacies of choosing export settings in DaVinci Resolve, empowering editors to make informed decisions and achieve optimal results in their video exports.
Understanding Export Settings:
Before diving into the specifics of choosing export settings in DaVinci Resolve, it’s essential to understand the key parameters and options that influence the export process.
- Resolution:
- Resolution refers to the number of pixels displayed on the screen and directly affects the clarity and detail of the exported video. Common resolutions include HD (1280×720), Full HD (1920×1080), and 4K (3840×2160). Choose the resolution that best suits your project’s requirements and intended viewing platform.
- Frame Rate:
- Frame rate determines the number of individual frames displayed per second in the exported video and impacts the smoothness and fluidity of motion. Common frame rates include 24fps (film), 30fps (television), and 60fps (high frame rate). Select the frame rate that aligns with your project’s aesthetic preferences and delivery specifications.
- Codec:
- Codec (short for compressor-decompressor) determines how video and audio data are compressed and encoded for storage and playback. Popular codecs include H.264, H.265 (HEVC), ProRes, and DNxHD. Each codec offers different levels of compression, quality, and compatibility. Choose a codec that balances file size with image and audio quality.
- Bitrate:
- Bitrate refers to the amount of data transmitted per second in the exported video and influences the overall quality and file size. Higher bitrates result in better quality but larger file sizes, while lower bitrates sacrifice quality for smaller file sizes. Adjust the bitrate based on your desired balance between quality and file size.
- Container Format:
- Container format determines the file format used to encapsulate the video, audio, and metadata in the exported file. Common container formats include MP4, MOV, AVI, and MXF. Choose a container format that is compatible with your intended distribution platform and playback devices.
Now, let’s explore how to navigate the export settings in DaVinci Resolve and choose the optimal configuration for your project.
Choosing Export Settings in DaVinci Resolve:
DaVinci Resolve offers a comprehensive set of export settings and options, allowing editors to customize their exports to meet the specific requirements of their projects and distribution platforms. Let’s delve into the step-by-step process of choosing export settings in DaVinci Resolve:
- Accessing the Deliver Page:
- Navigate to the Deliver page within DaVinci Resolve to access the export settings and options. The Deliver page provides a dedicated interface for configuring export settings, choosing output formats, and initiating the export process.
- Selecting the Timeline:
- Choose the timeline or sequence you wish to export from the timeline dropdown menu within the Deliver page. If you have multiple timelines in your project, select the appropriate timeline containing the content you want to export.
- Setting the Export Range:
- Determine the portion of the timeline you wish to export by setting the export range within DaVinci Resolve. You can choose to export the entire timeline or specify a custom range by setting in and out points on the timeline.
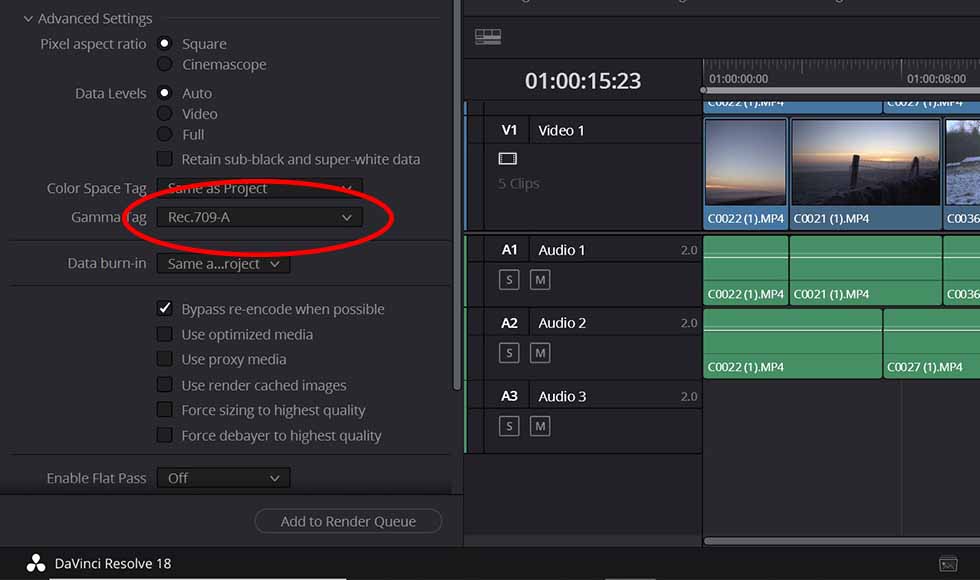
- Customizing Export Settings:
- Customize export settings according to your project’s requirements and specifications. DaVinci Resolve offers a wide range of export settings and options, including resolution, frame rate, codec, bitrate, and container format. Adjust these settings based on your project’s needs and intended distribution platform.
- Choosing Output Format:
- Select the output format for your exported project based on the requirements of your distribution platform or sharing destination. DaVinci Resolve supports a variety of popular video formats, including MP4, MOV, AVI, ProRes, and more. Choose the appropriate format that best suits your needs.
- Adjusting Codec and Compression:
- Choose the codec and compression settings for your exported project to balance quality and file size. Consider factors such as playback compatibility, image quality, and file size when selecting the codec and compression settings. Experiment with different codecs and compression options to find the optimal balance for your project.
- Configuring Audio Settings:
- Customize audio settings such as sample rate, bit depth, and channel layout to ensure optimal audio quality in the exported file. DaVinci Resolve allows you to adjust audio settings independently of video settings, giving you precise control over the audio output.
- Adding Metadata and Watermarks:
- Optionally, add metadata or watermarks to your exported project to provide additional information or branding. DaVinci Resolve allows you to embed metadata such as title, author, copyright information, and more into the exported file. You can also add watermarks or logos to protect your content or promote your brand.
- Previewing and Reviewing:
- Preview the export settings and configuration before initiating the export process to ensure that everything is configured correctly. Use the preview window within the Deliver page to review the export settings, output format, resolution, and other parameters.
- Saving Presets:
- Save custom export presets for future use to streamline your workflow and ensure consistency across projects. DaVinci Resolve allows you to save and reuse export presets, making it easy to apply consistent settings to multiple exports.
- Initiating the Export:
- Once you’re satisfied with the export settings and configuration, initiate the export process by clicking the “Add to Render Queue” button within the Deliver page. DaVinci Resolve will add the export job to the render queue, where you can monitor the progress and status of the export.
- Reviewing the Exported File:
- Once the export process is complete, review the exported file to ensure that it meets your expectations and quality standards. Playback the exported file in a media player or video editing software to verify the audiovisual integrity, quality, and compatibility of the final output.
Best Practices for Choosing Export Settings:
To achieve optimal results when choosing export settings in DaVinci Resolve, consider the following best practices:
- Know Your Distribution Platform:
- Understand the requirements and specifications of your distribution platform or sharing destination before choosing export settings. Select settings that are compatible with the platform’s playback capabilities, file size limitations, and quality standards.
- Balance Quality and File Size:
- Strive to strike the right balance between quality and file size when choosing export settings. Experiment with different codecs, compression options, and bitrate settings to achieve the desired balance for your project.
- Test and Iterate:
- Test different export settings and configurations to find the optimal configuration for your project. Iterate on the export process based on feedback, testing, and review to refine and enhance the final output.
- Document Export Settings:
- Document export settings and configurations for future reference or replication. Keep a record of export settings used for different projects, platforms, or delivery formats to streamline the export process and ensure consistency across your workflow.
Conclusion:
Choosing export settings in DaVinci Resolve is a nuanced process that requires careful consideration of various factors such as resolution, frame rate, codec, bitrate, and container format. By understanding the key parameters and options that influence the export process and following best practices for selecting export settings, editors can achieve optimal results and deliver high-quality video projects that meet the requirements of their distribution platforms and audiences. With DaVinci Resolve’s comprehensive set of export tools and workflows, editors have the flexibility and control to tailor their exports to meet the specific needs and objectives of their projects. By mastering the art of choosing export settings in DaVinci Resolve, editors can ensure that their video projects shine with clarity, quality, and impact, captivating audiences worldwide with compelling visual storytelling.


